Creating Forms

Beefree App is now RGE Studio!
The email design suite you already know and love just leveled up. We’re working hard to update our help center, but you still may see some references to the old product name.
This article applies to the Page builder in all plans.
Designing a Form
When you design a page with the builder, you can add forms to it. Drag & drop the Form content block to the builder stage. In the sidebar, you'll see some formatting options:
Width
Alignment
Font Family
Font Weight
Font Size
Below you'll see several sections you can use to customize form elements:
Manage fields
Label options
Field options
Button options
These options are all specific to the form content block. Let's take a closer look at the options found for each element.
Manage Fields
The Manage fields option allows you to select different types of fields for your form. You can also adjust the positions of your fields. You can use up to ten form fields. The following types of fields are currently available:
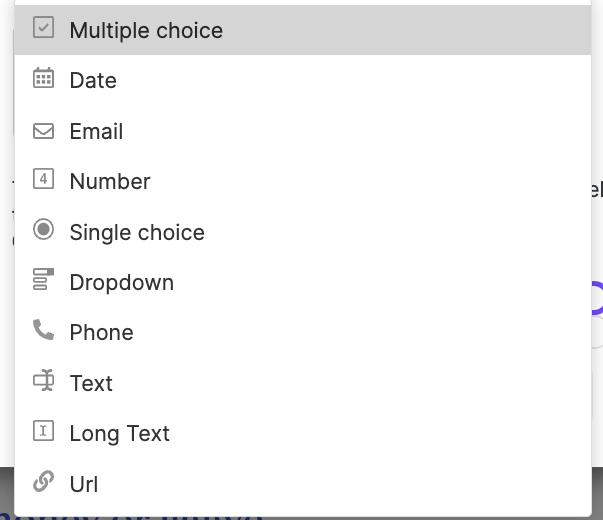
Multiple choice
Date
Email*
Number
Single choice
Dropdown
Phone
Text
Long text
URL
*At least one email field is required on your form.
All forms include a field for the submission button. Here you can customize the text that appears on your submit button. This form field is required and cannot be removed.
When editing a field, it is possible to modify the label name, or to mark it as a required or read-only field. Depending on the option you select, you may find different options in the Edit field modal.
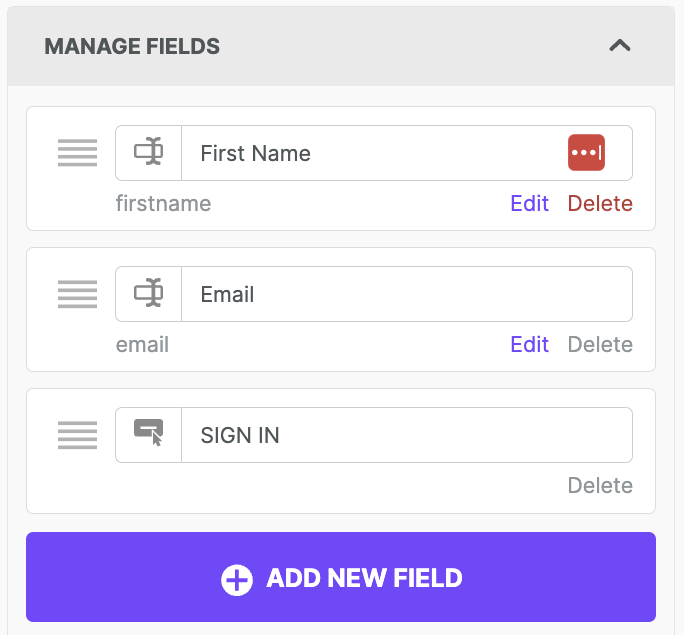
You can also use the Edit field modal to change the form field type.

Label Options
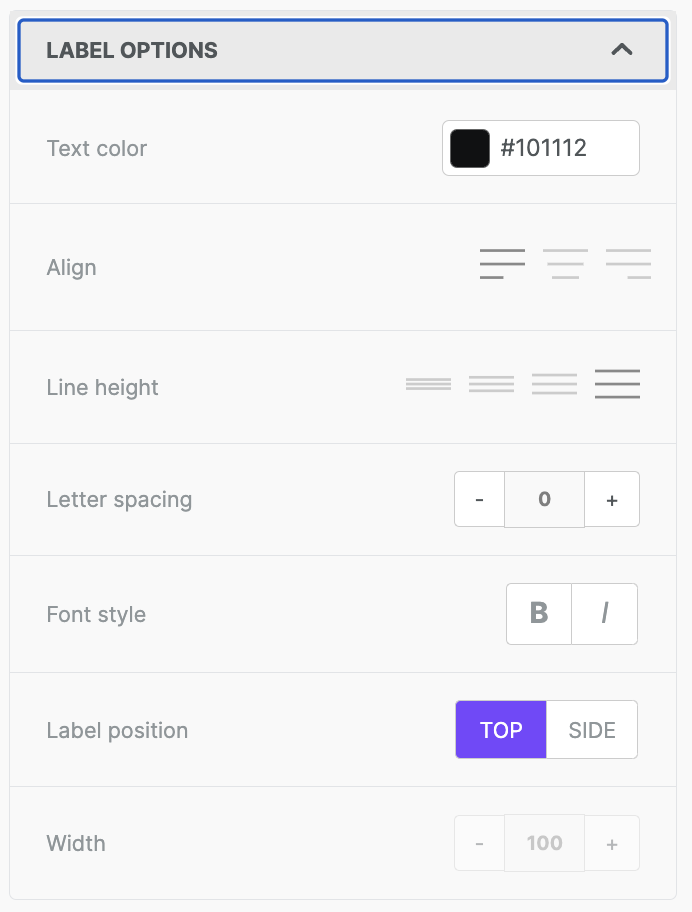
The Label Options section correlates to the labels you set in the Manage fields section. Labels are the text associated with each individual field in your form. This section provides text formatting options for form labels.
The various text formatting options are pictured below. It's also possible to modify the label position or the width. Label width is available only when you choose Side as the label position.
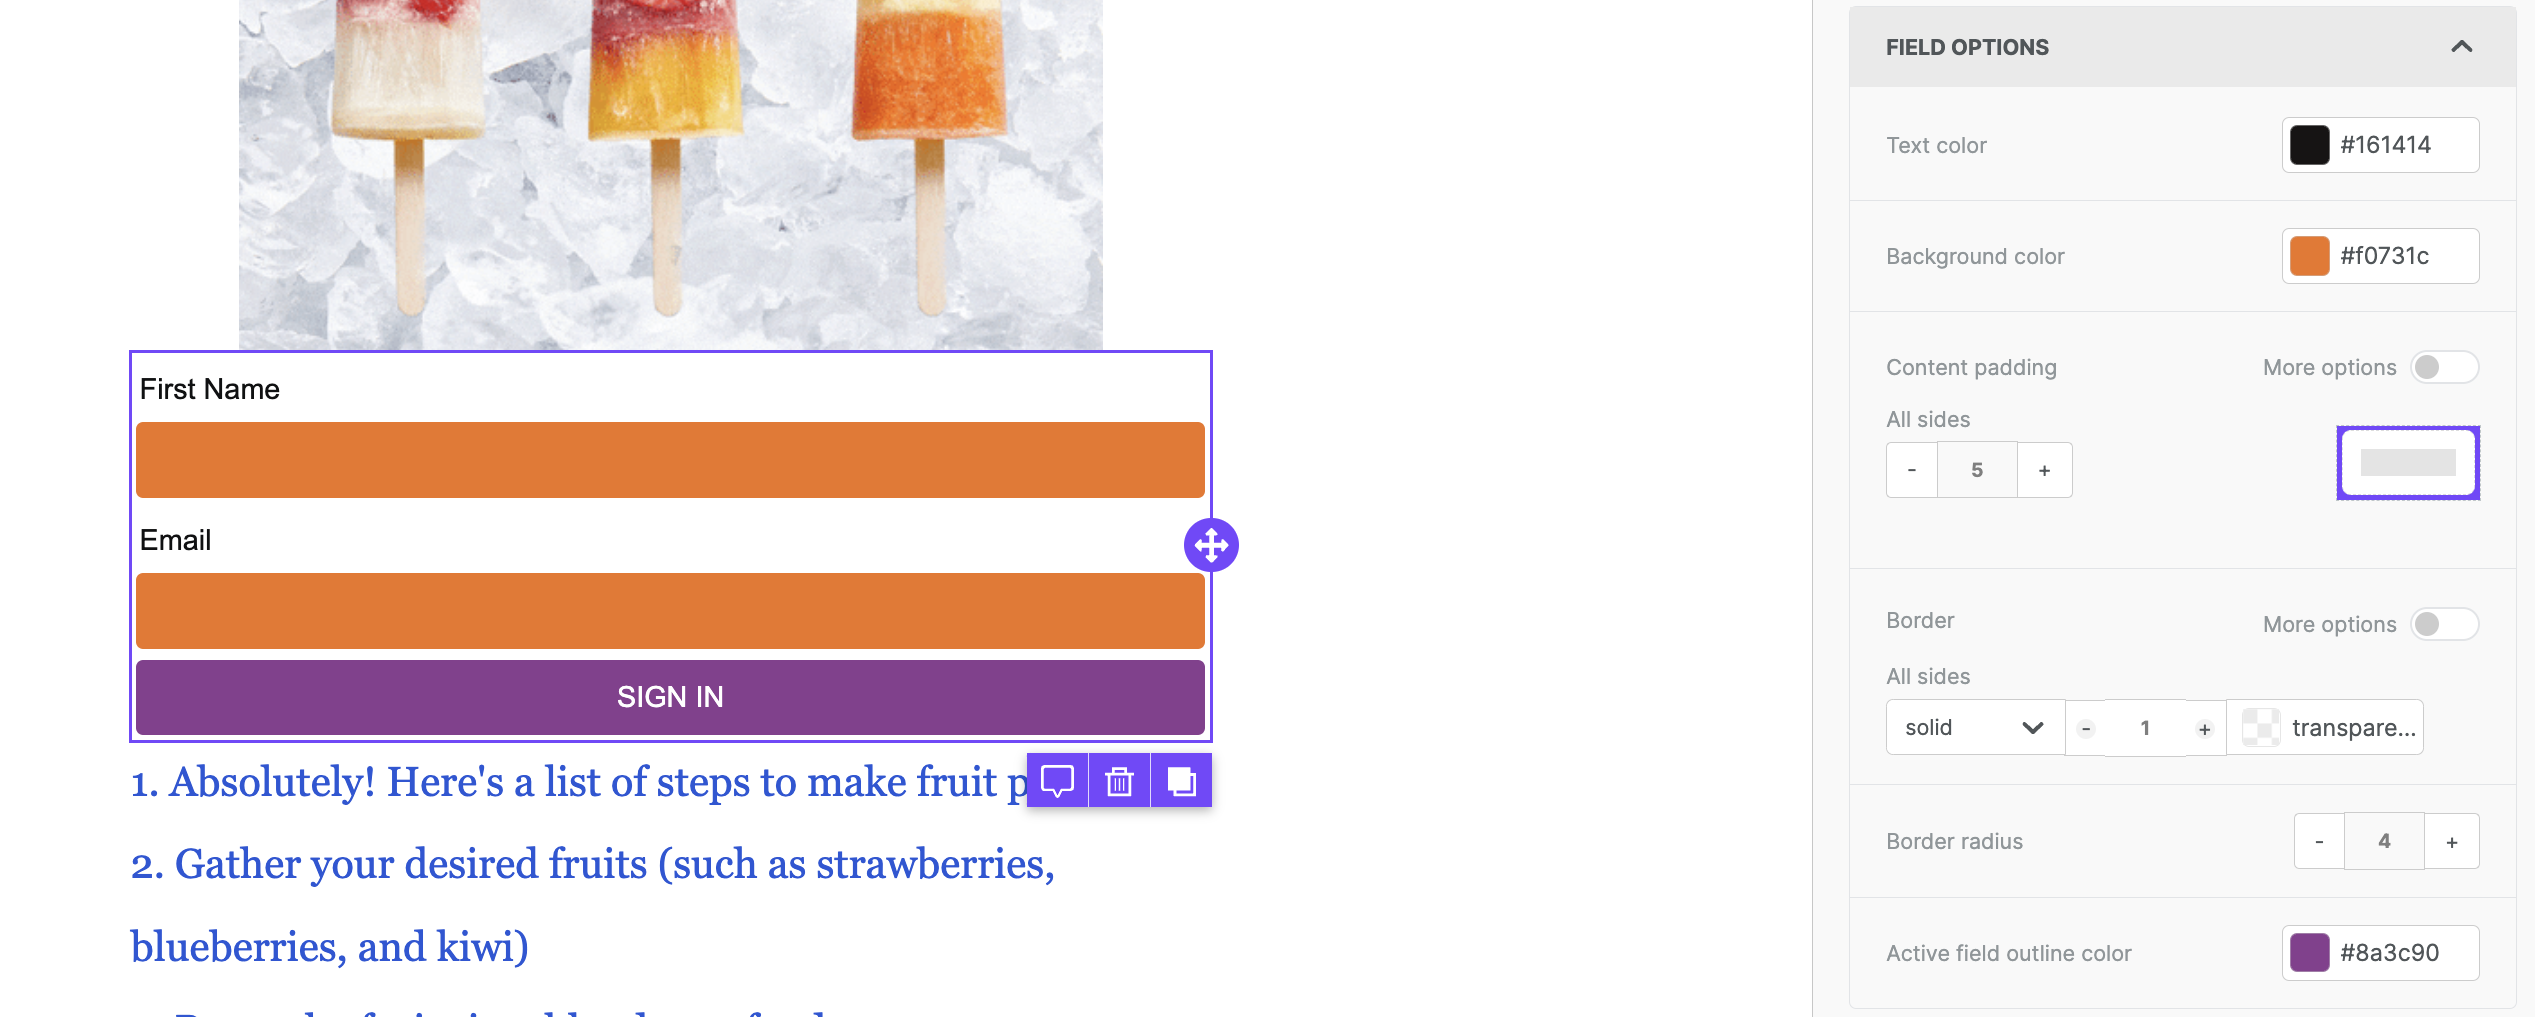
Field Options
Field Options allow customization of the fields that end users will interact with. This enables you to customize the background color and the border of the form field. You can also set a special border color that only populates for a selected form field. You can also customize the color of the text input.
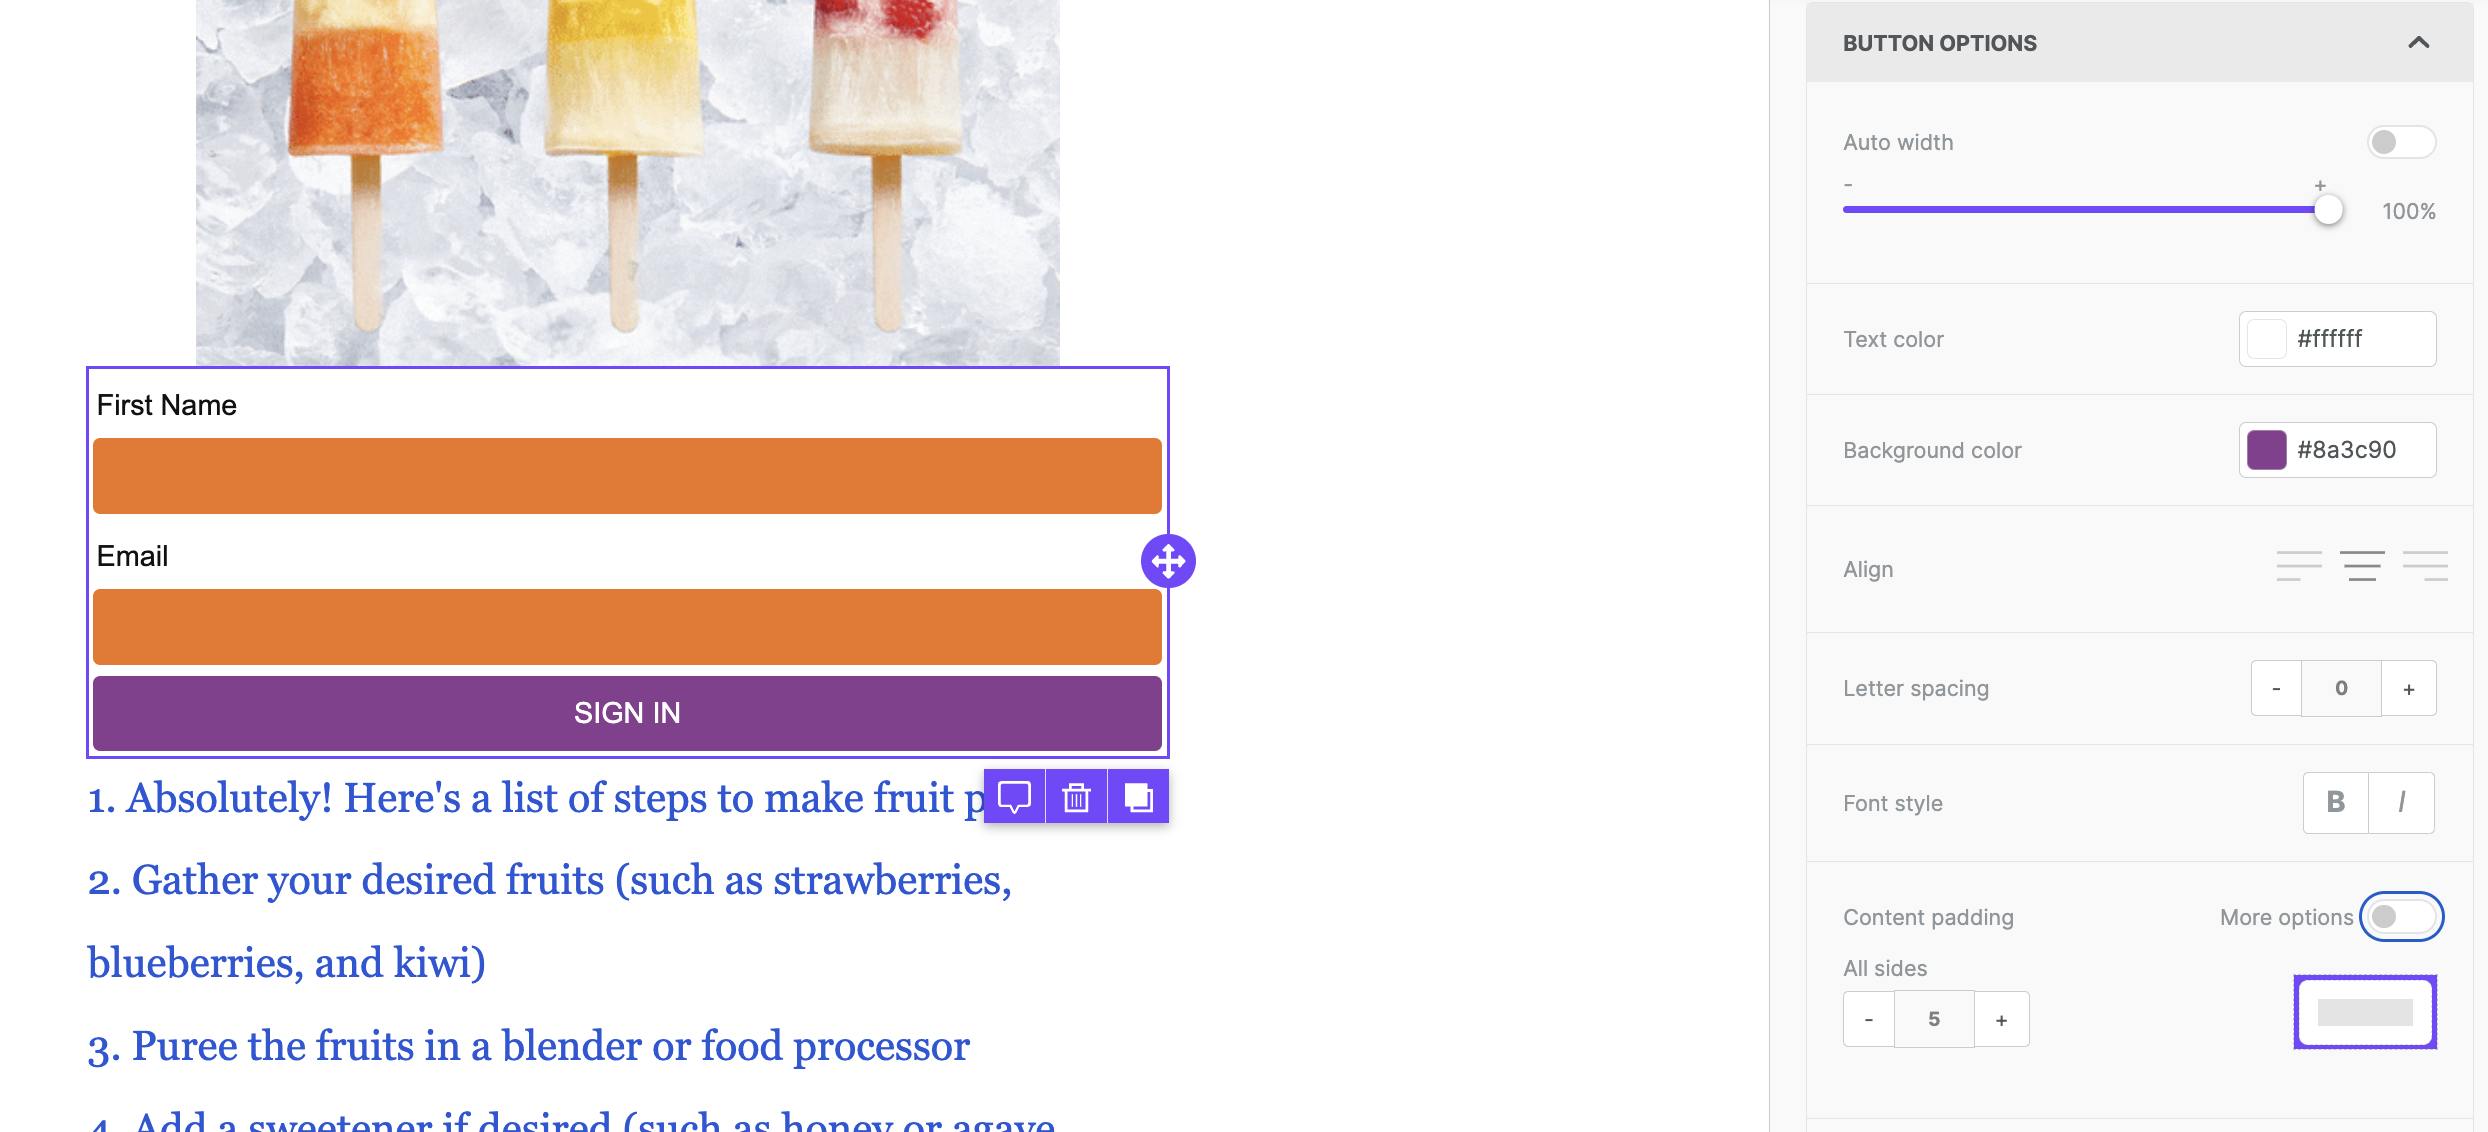
Button Options
The Button field allows you to customize your submit button. Here you will find all the same formatting options that you see when using a button content block.
Form Layout Customization
When designing a landing page with forms, having control over your form’s layout is crucial to creating an engaging and interactive experience for users. In this section, you'll learn how to customize your form’s layout. Whether you need to adjust a field’s orientation (choosing between horizontal or vertical), choose from various layout presets (such as horizontal, vertical, or grid), or modify the width of your form fields (setting them to either 50% or 100%), these features empower you to create clean, well-organized forms that align with your design and resonate with your audience.
Steps for Customizing Your Form's Layout
This page explains how to customize your form’s layout and provides instructions on how to:
- Adjust a field's orientation: Select either horizontal or vertical field orientation.
- Change your form's layout preset: Choose between horizontal, vertical, or grid layout options.
- Edit your field's width: Set the field's width to either 50% or 100% when using the grid layout.
Adjusting a Field's Orientation
Follow these steps to adjust a field’s orientation:
- Navigate to the sidebar.
- Locate the Manage Fields section.
- Find the field you'd like to adjust and click the corresponding Edit button.
- A modal will appear with orientation options under the Layout section.
- Select either horizontal or vertical.
- Click Save to confirm your changes.
Note: This only applies to checkbox and radio field types.
Changing Your Form's Layout Preset
To change your form's layout preset:
- Navigate to the sidebar.
- Locate the Layout section.
- Find the layout drop-down menu.
- Select Grid, Horizontal, or Vertical from the menu.
Your changes will be applied automatically.
Editing a Field's Width
To edit a field's width:
- Ensure the layout is set to Grid.
- Navigate to the field you want to modify.
- You'll see options for setting the width to either 50% or 100%.
- Choose the desired width, and your changes will be applied automatically.
Note: The Grid must be set as the Layout option in the sidebar to edit the width of qualifying fields.
By using these form layout customization options, you can create visually appealing, user-friendly forms that enhance the experience for those completing them.
Handling form submissions
If the page is hosted by RGE Studio, you can have RGE Studio handle form submissions. You can receive the data via email or save it somewhere else. For more information, check out Saving form data to a spreadsheet, a database, an email list, or other apps.
If the page is hosted elsewhere (e.g. on your website), you will need to edit the HTML document manually. RGE Studio doesn't manage form submissions for externally hosted pages. You must replace the "ACTION_PLACEHOLDER" attribute value with a destination for your form submissions. The web host typically manages form submissions for this use case.
Thank You and Error messages
When the form is submitted, one of the following outcomes may occur:
- Successful submission where a Thank You message is displayed.
- Unsuccessful submission where an Error message is shown.
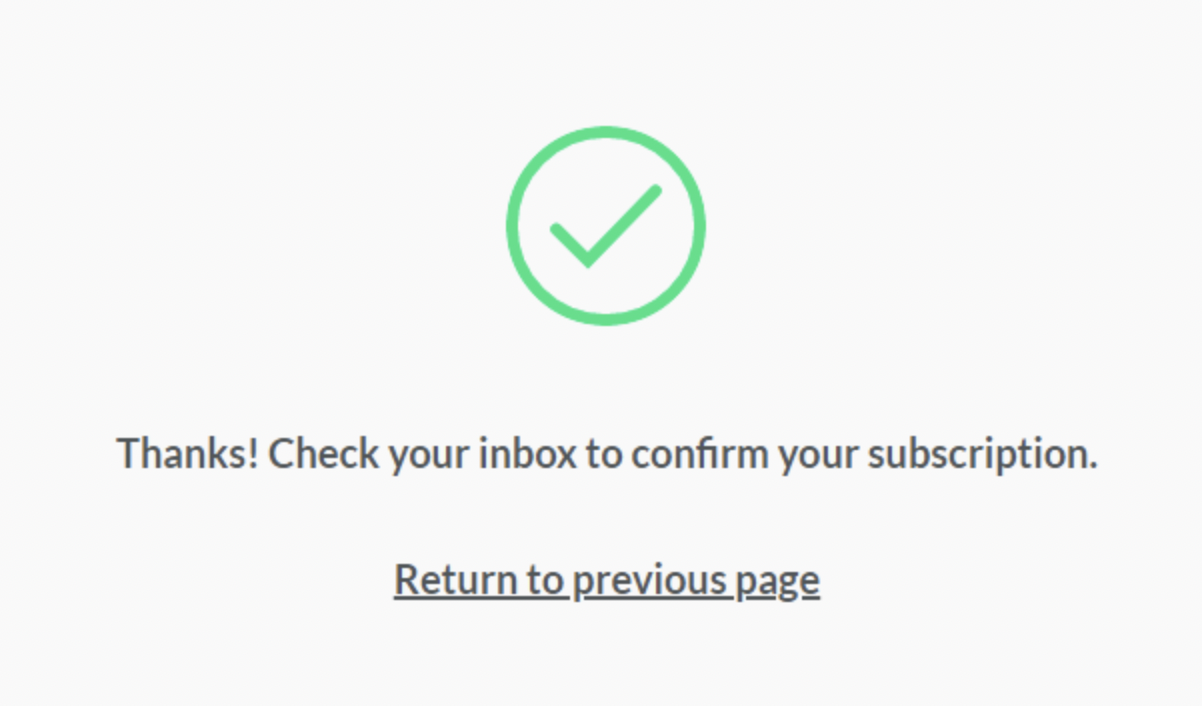
RGE Studio allows you to add a custom Thank You and Error message. In our case, for example, we used:
"Thanks! Check your inbox to confirm your subscription" as the Thank You message.
"Oops! Something's not right. Please try again." as the Error message
When people fill out our newsletter sign-up form, they see the following. Please note that the Return to previous page link is not customizable.
If you have any questions, feel free to contact us.
Comments
0 comments
Please sign in to leave a comment.