Content Area Padding

Beefree App is now RGE Studio!
The email design suite you already know and love just leveled up. We’re working hard to update our help center, but you still may see some references to the old product name.
This article applies to the Email and Pages builder in all plans.
Overview
Content Area Padding adds space around the content inside a row. You can apply the same padding to all sides at once. You can also set each side separately.
Adjust Content Area Padding
Follow these steps to find the padding settings for a row:
- Open your email or page design.
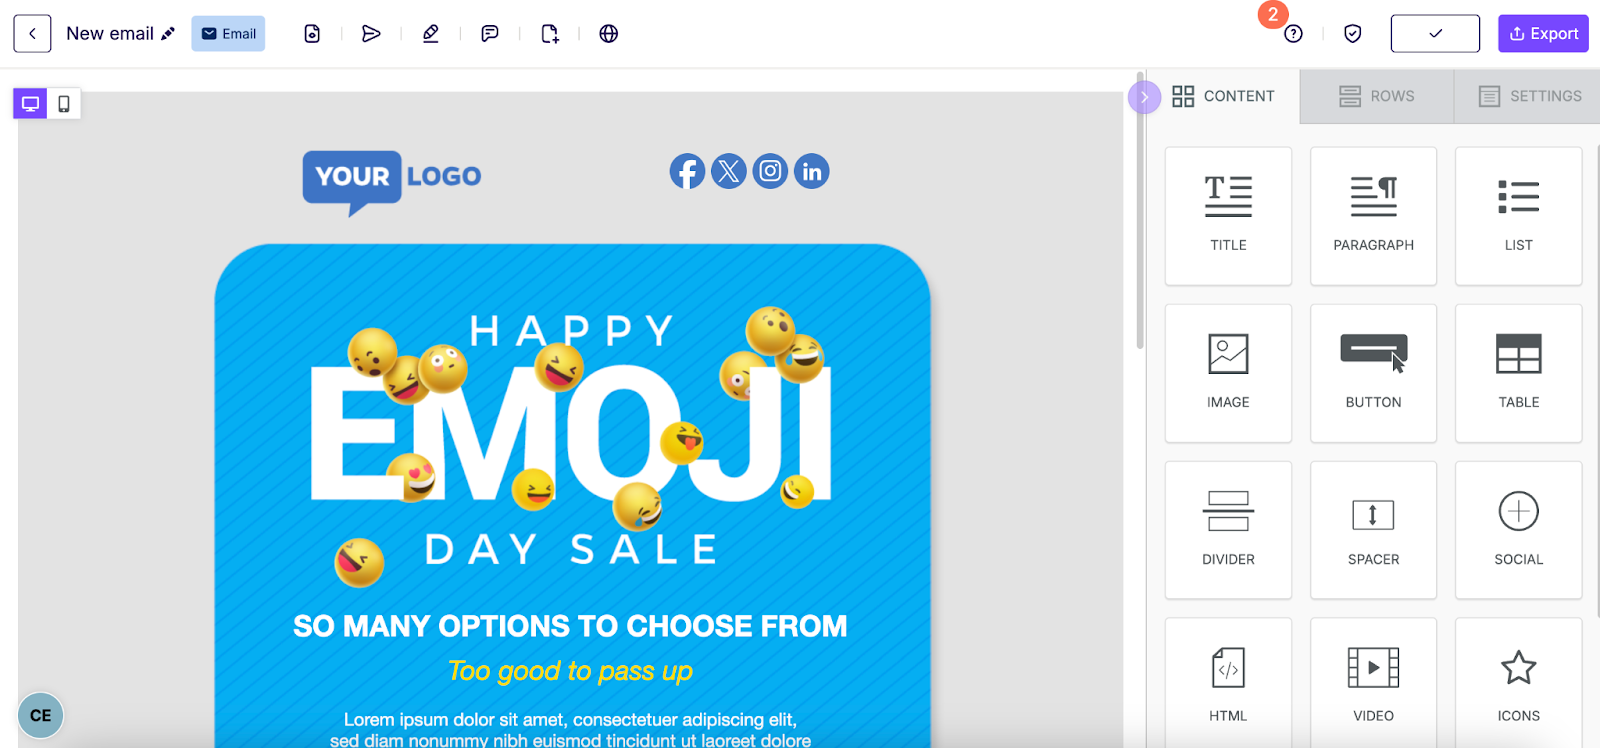
- Click the row you want to edit.
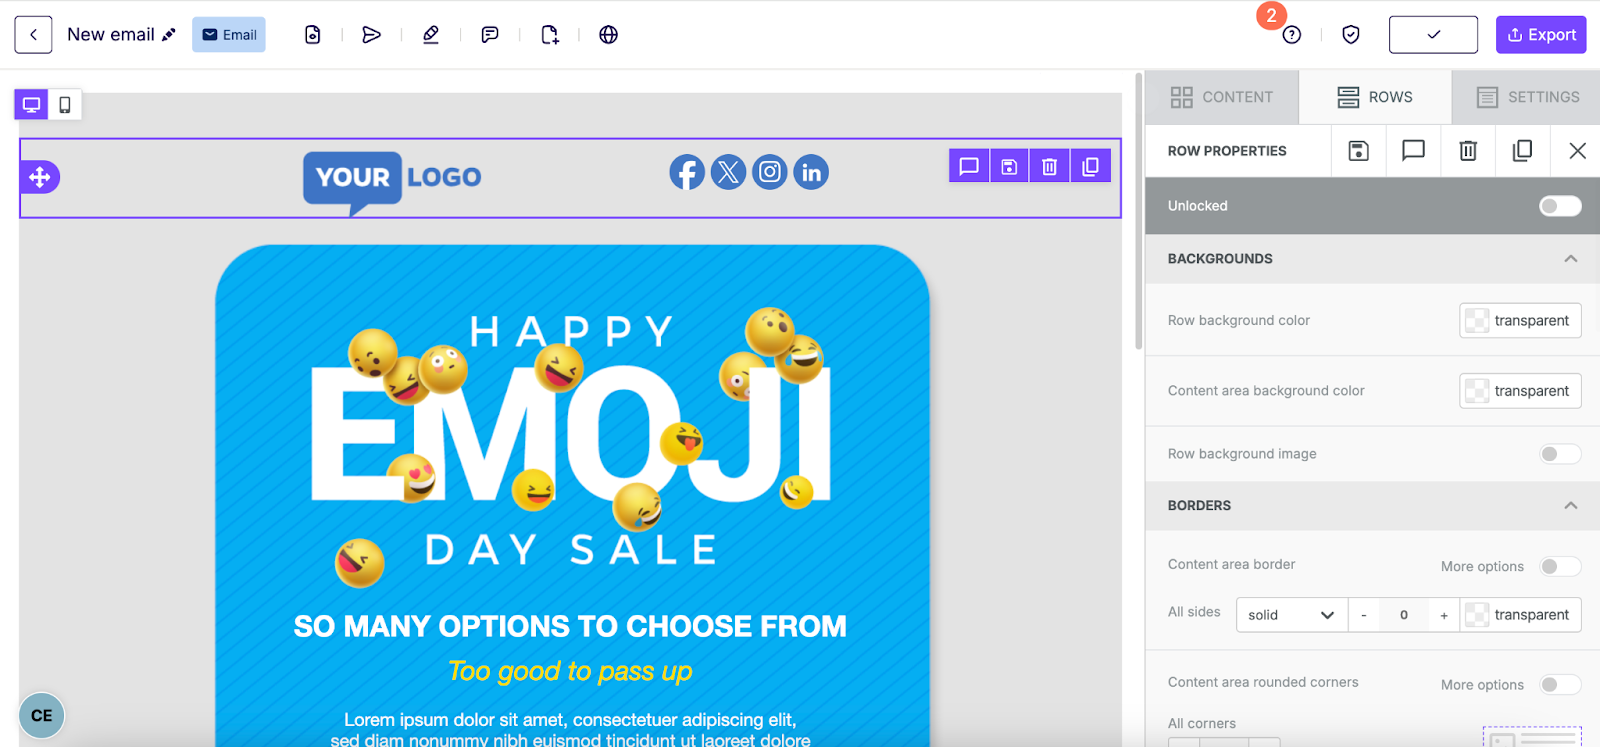
- Go to the sidebar on the right side.
- Make sure you are on the ROWS tab.
- Scroll down to the Layout section.
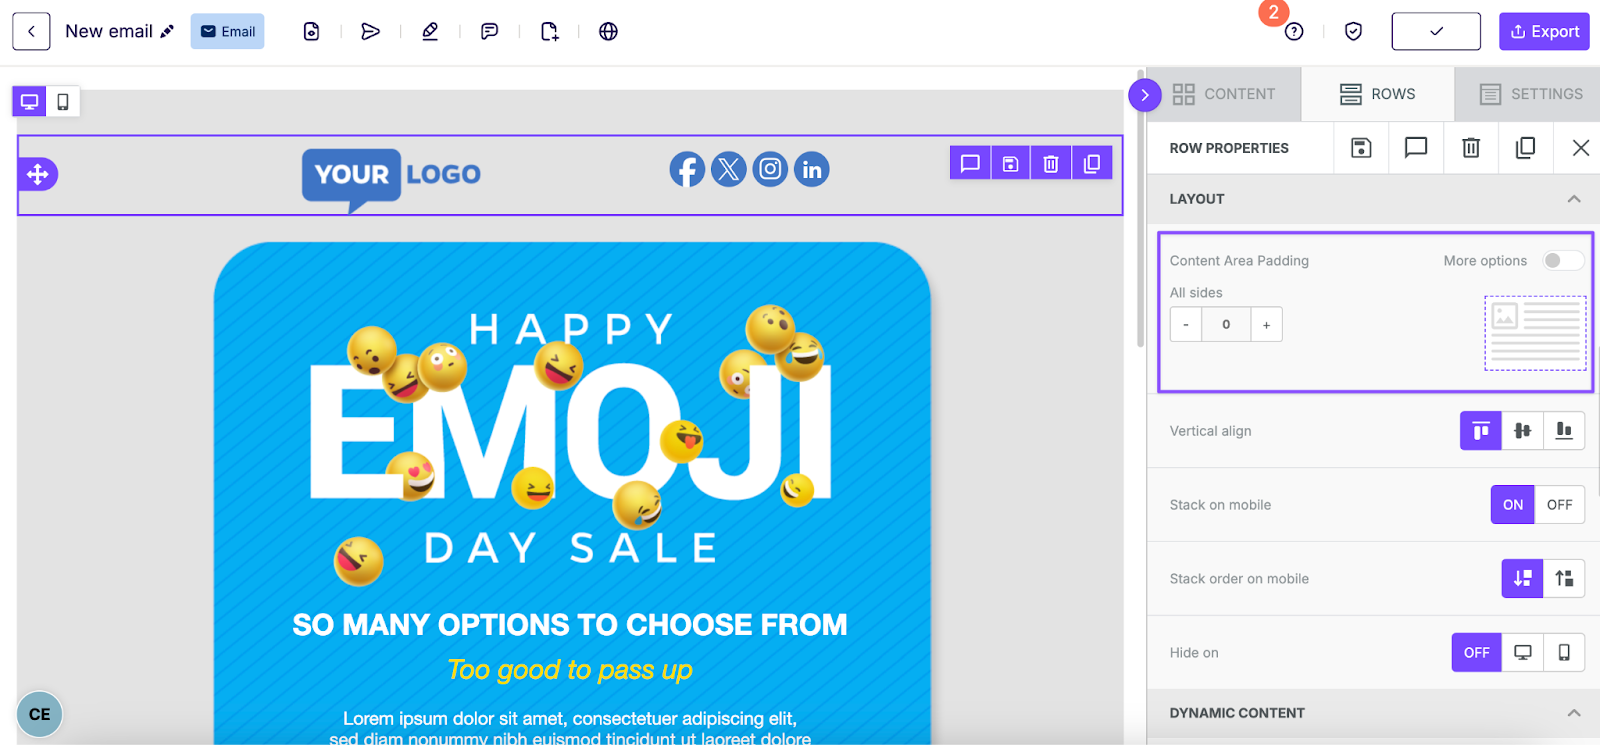
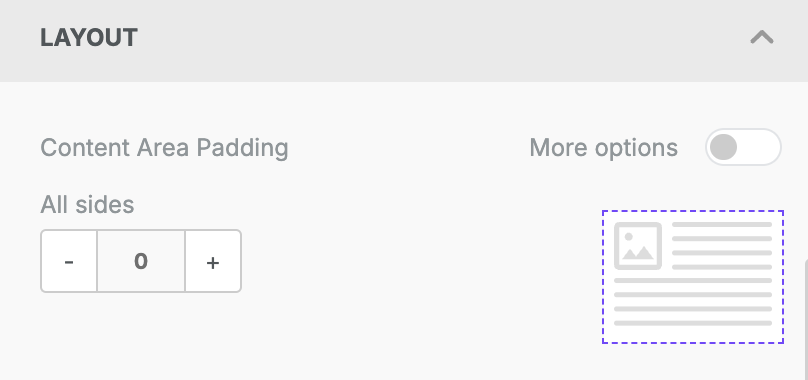
- Find the Content Area Padding option.
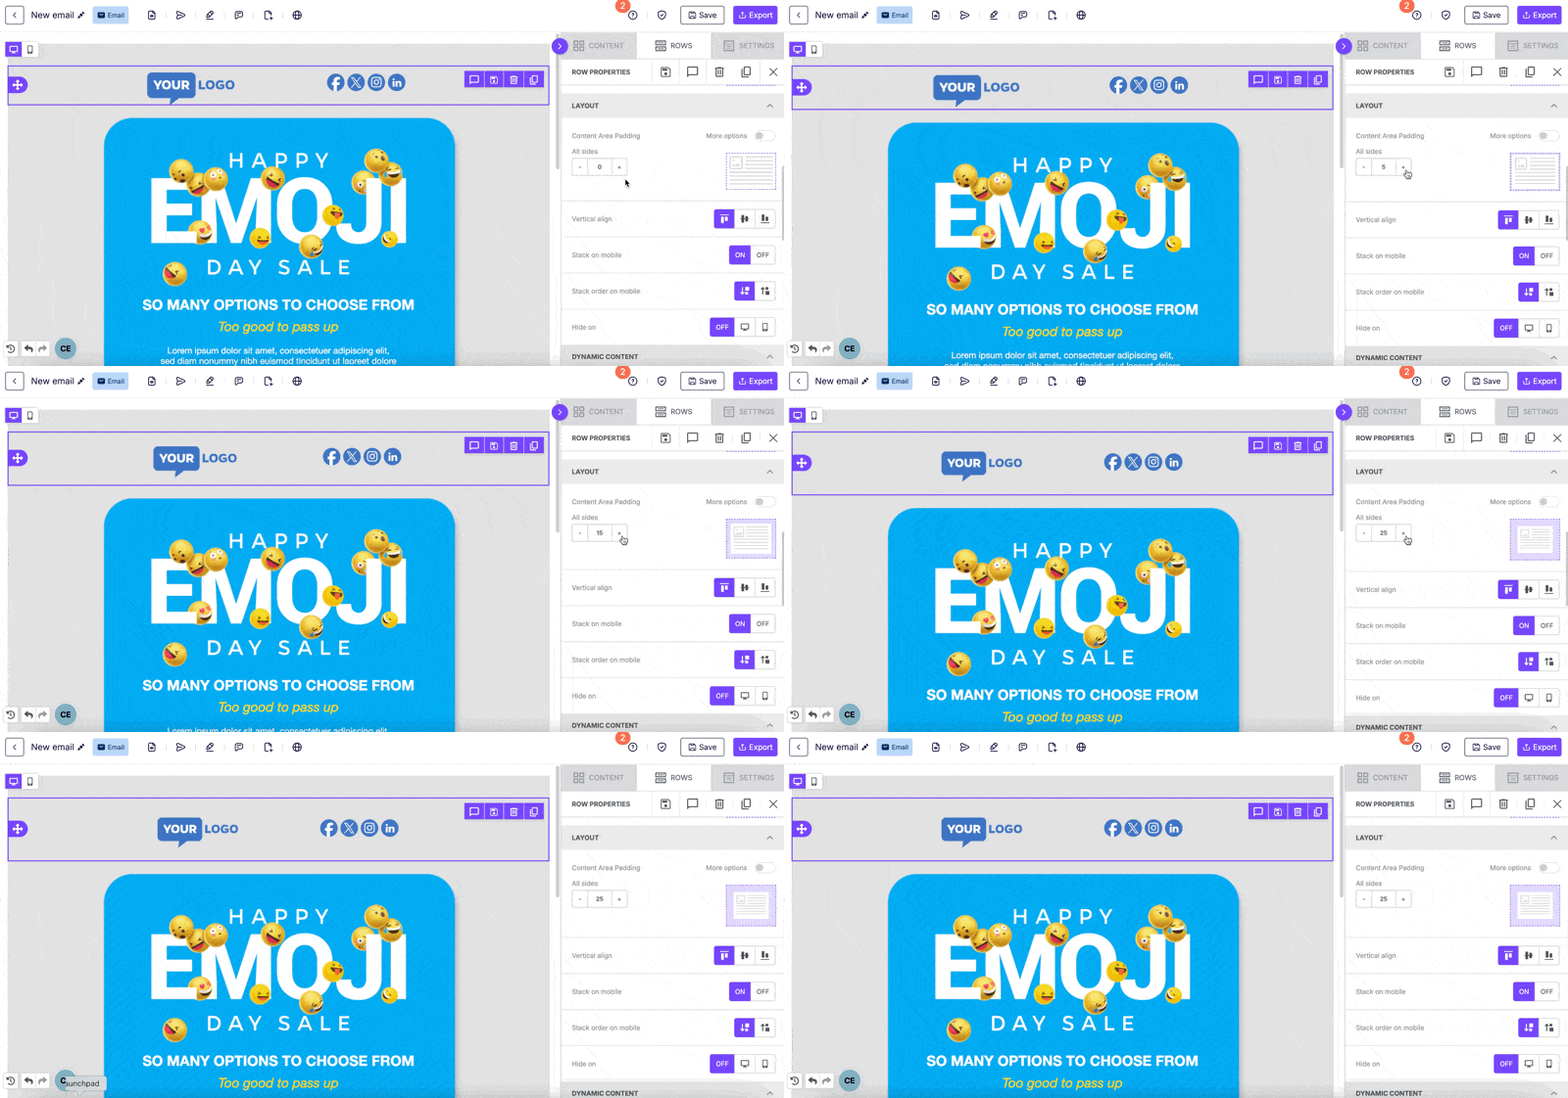
Apply Padding to All Sides
Under All sides, click the plus (+) sign. This applies the same padding around all content in the row.
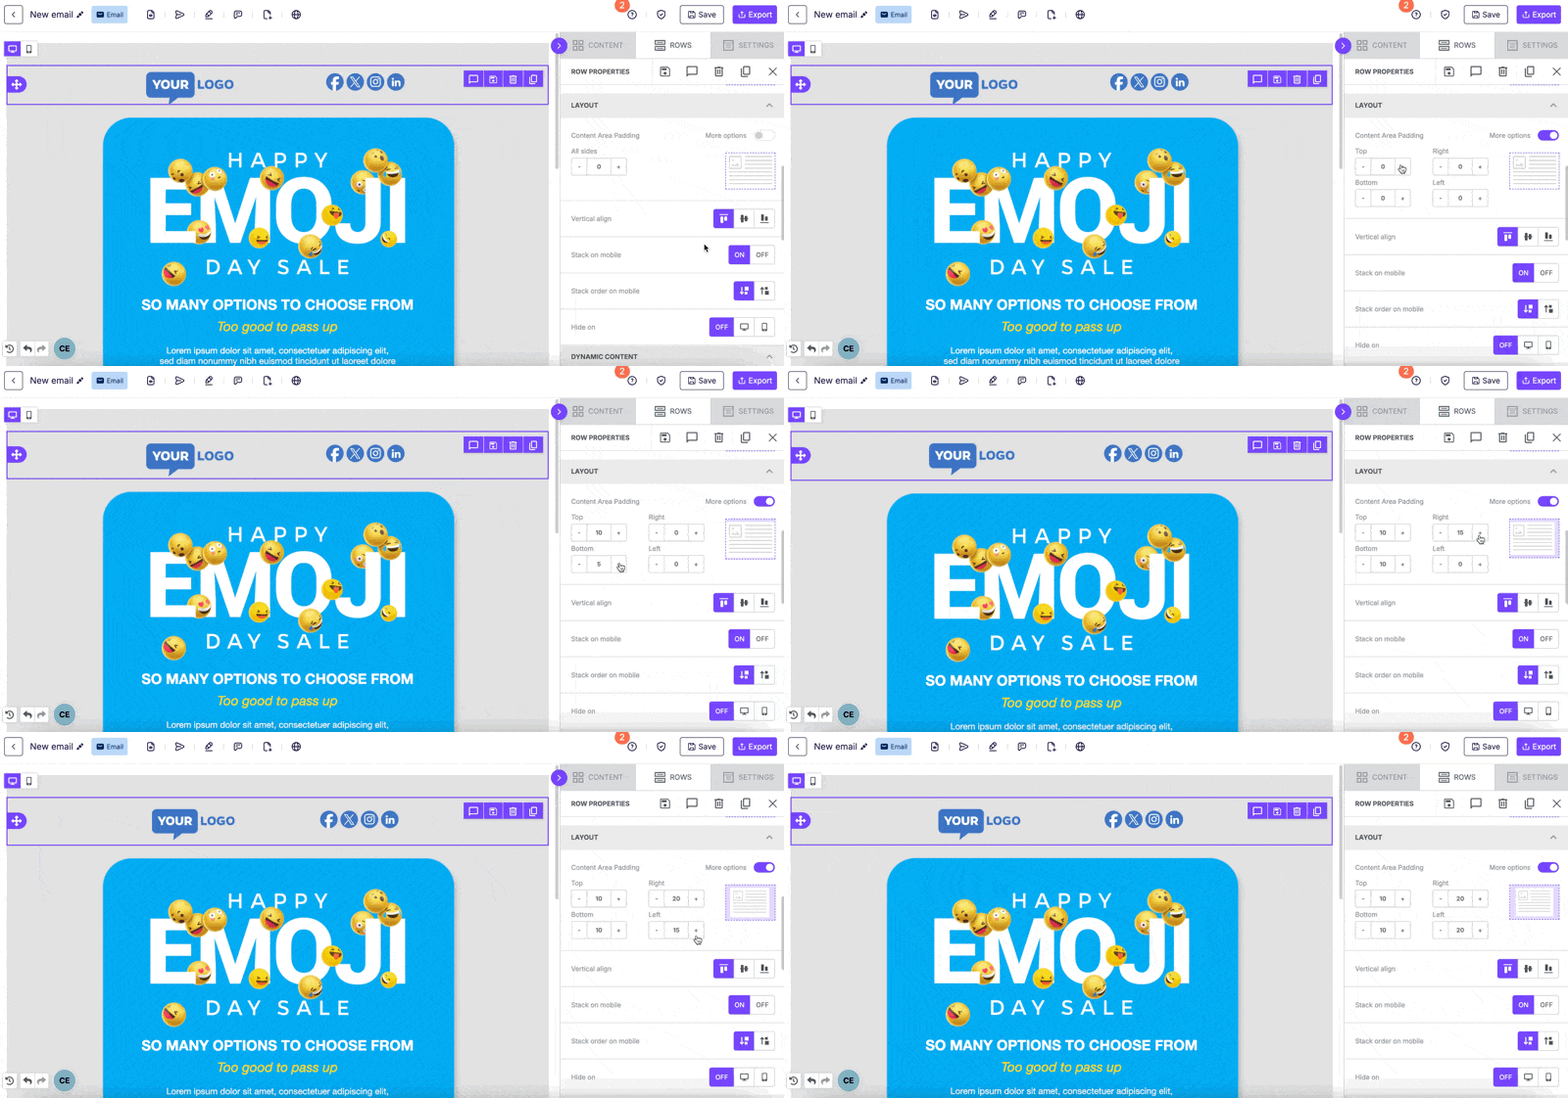
Apply Padding to Each Side
Turn on the More options toggle. Then adjust the padding for each side of the row's content.
Additional Considerations
Consider the following when using Content Area Padding:
- Content Area Padding applies to one row at a time. To adjust more rows, select each row and repeat these steps.
- Content Area Padding is only available in the builder. RGE Studio Styles and the Advanced Style Kit do not include this setting.
If you have any questions, feel free to contact us.
Comments
2 comments
Step 3 says: "Navigate to the sidebar on the left-hand side." However, the sidebar is on the right-hand side in the image (and in the builder).
Nice catch, Randy! I've just fixed that. Thanks for bringing it to our attention. :)
Please sign in to leave a comment.