Designing with Saved Rows

Beefree App is now RGE Studio!
The email design suite you already know and love just leveled up. We’re working hard to update our help center, but you still may see some references to the old product name.
This article applies to all plans. However, some features may be limited or unavailable on the Starter plan.
Overview
This article covers advanced Saved Rows features in RGE Studio. If you're new to this feature, start with Saved Rows first.
Update a row's content
There may come a time when you need to change a row you've already saved. There are a couple of ways to update saved row content.
Updating in the builder
Before you start, identify whether you're working with a standard or a synced row. Check our Synced Rows documentation if you're not sure.
This process looks a bit different depending on the type of row you're working with.
Standard rows
To update a standard row, click the Save icon for your row again. Any time you save a row you've already saved, you can choose to:
- Use the Save as new button to create a new version of the existing row. You also have the option to create a synced row. Give it a new name.
- Update the existing row.
- Change the Category assigned to the row. Type in the dropdown to create a new category.*
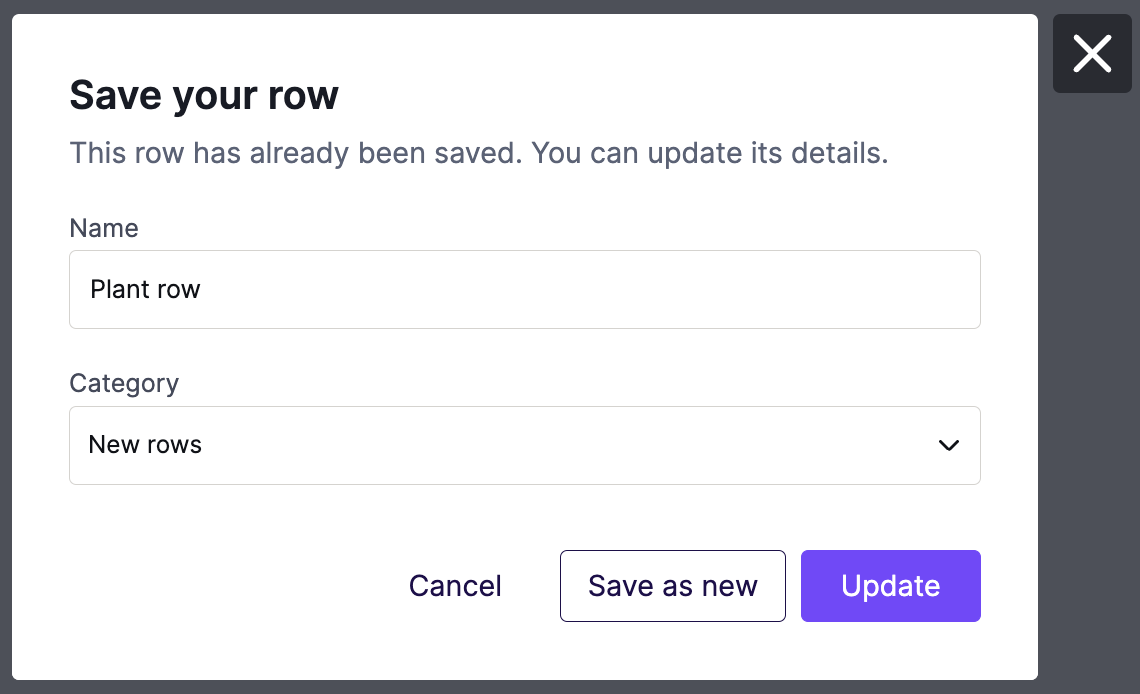
*Categories are not available in the Starter plan. You can only use the Saved Rows category.
Synced rows
When you click the edit icon for a synced row, a modal gives you two options:
- Edit and update everywhere, which takes you to the Row Builder described below. Jump to Updating from the Library for more info.
- Unsync this row, which lets you edit the content directly in the builder.
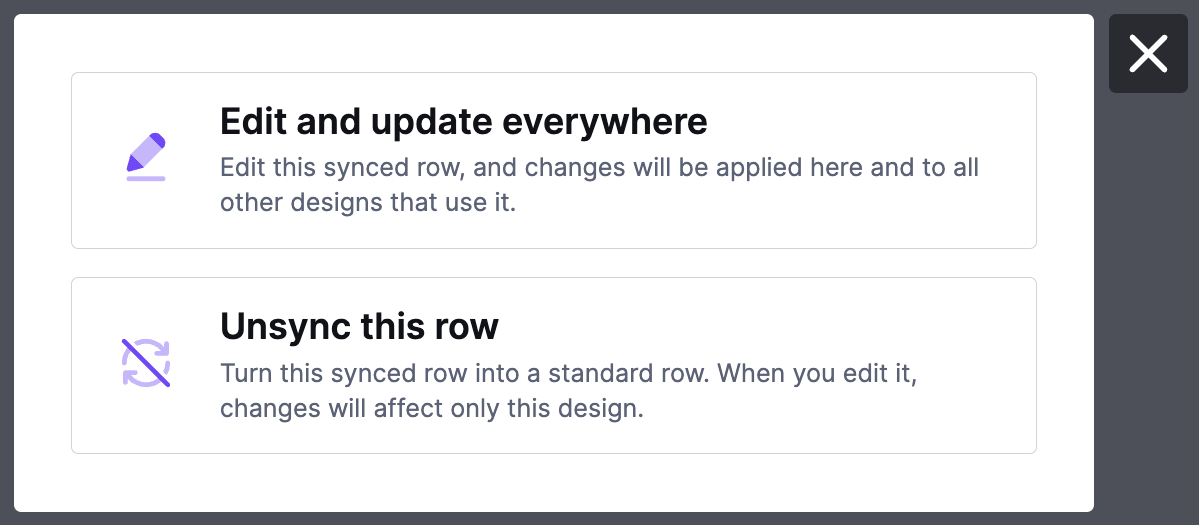
If you unsync a row, it does not automatically become a standard saved row. For more detail, see our Synced Rows article. To create an alternative version, save the row again.
Updating from the Library
Sometimes you need to update a saved row before working in the builder.
In the Rows tab of your Library, you can manage all your saved rows. Hover over a row thumbnail to see the Edit row option.
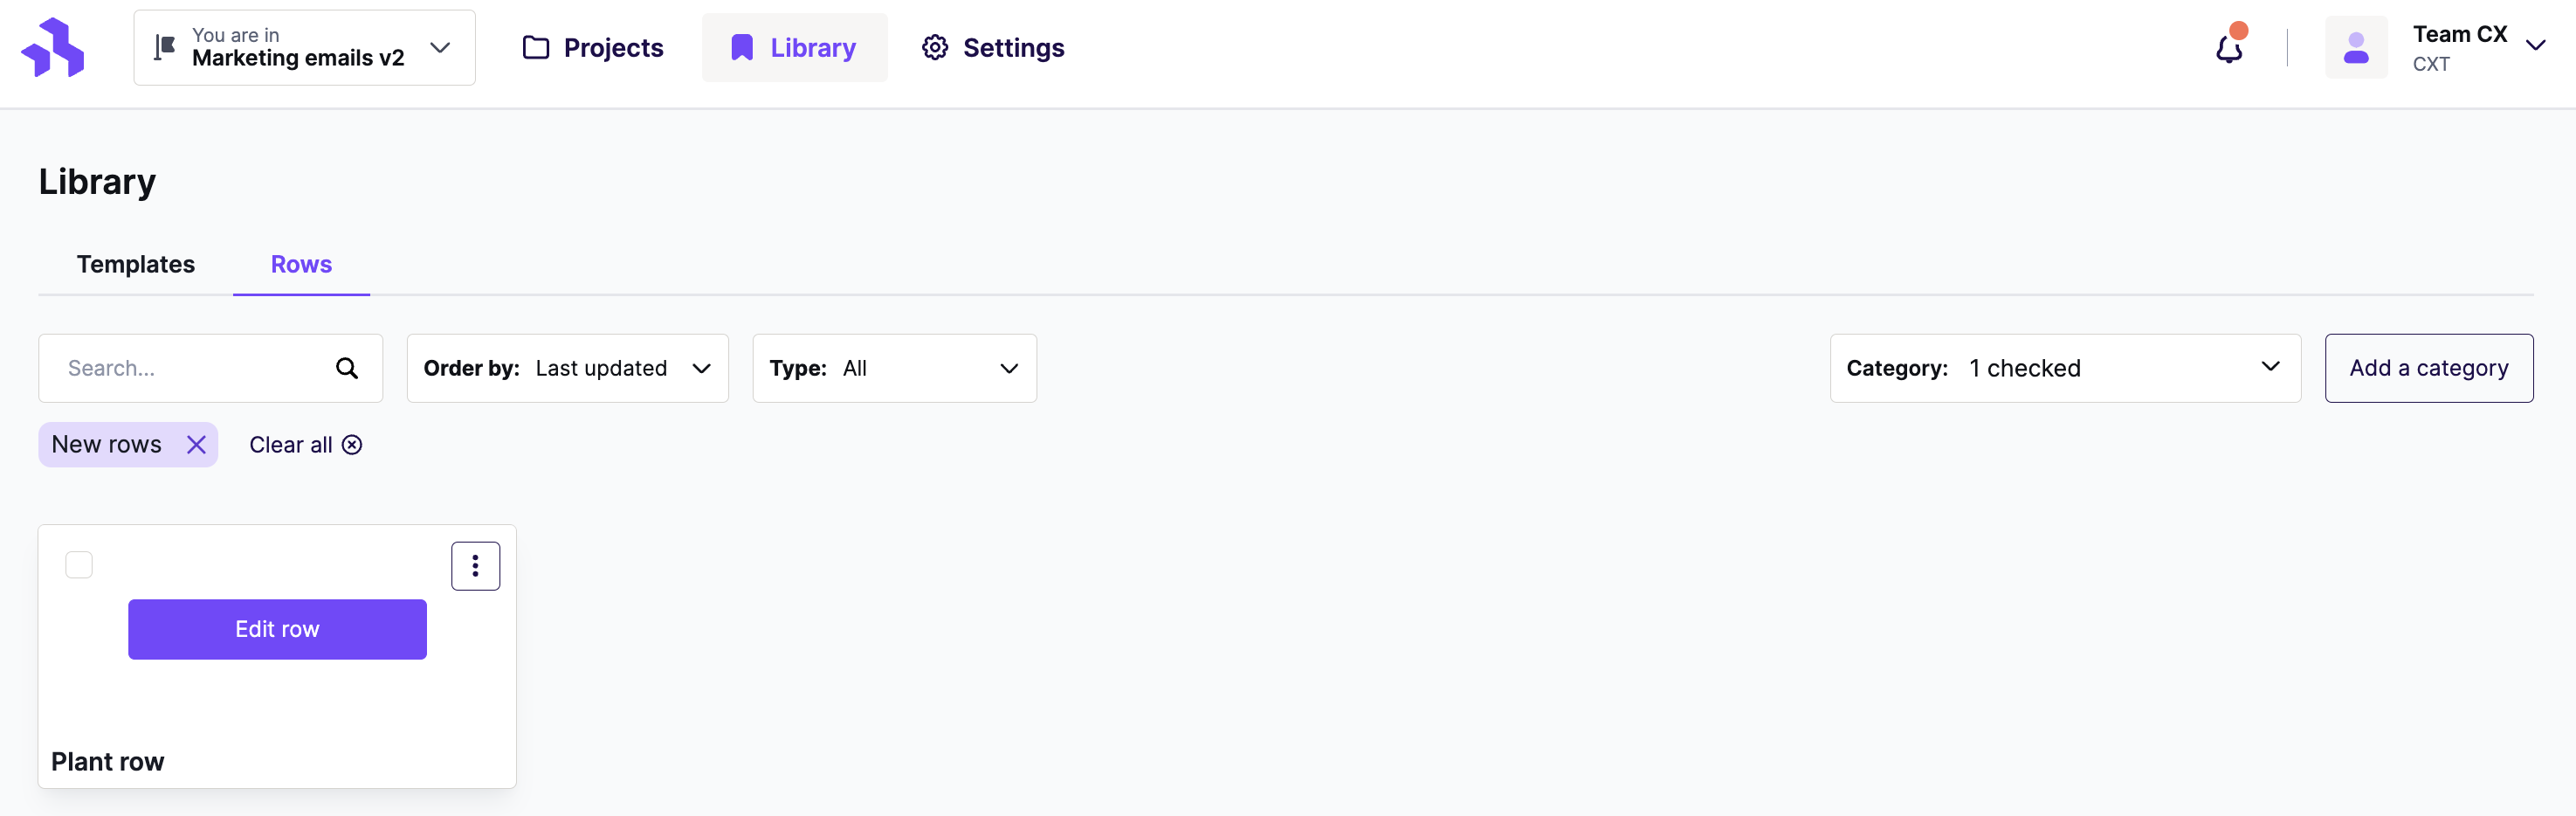
Clicking Edit row launches the Row Builder. The sidebar has no Settings tab. Only Content and Row options are available. The Row tab does have limitations. You cannot add more rows to your design. You can only update settings for the existing row, such as mobile optimization and column settings.
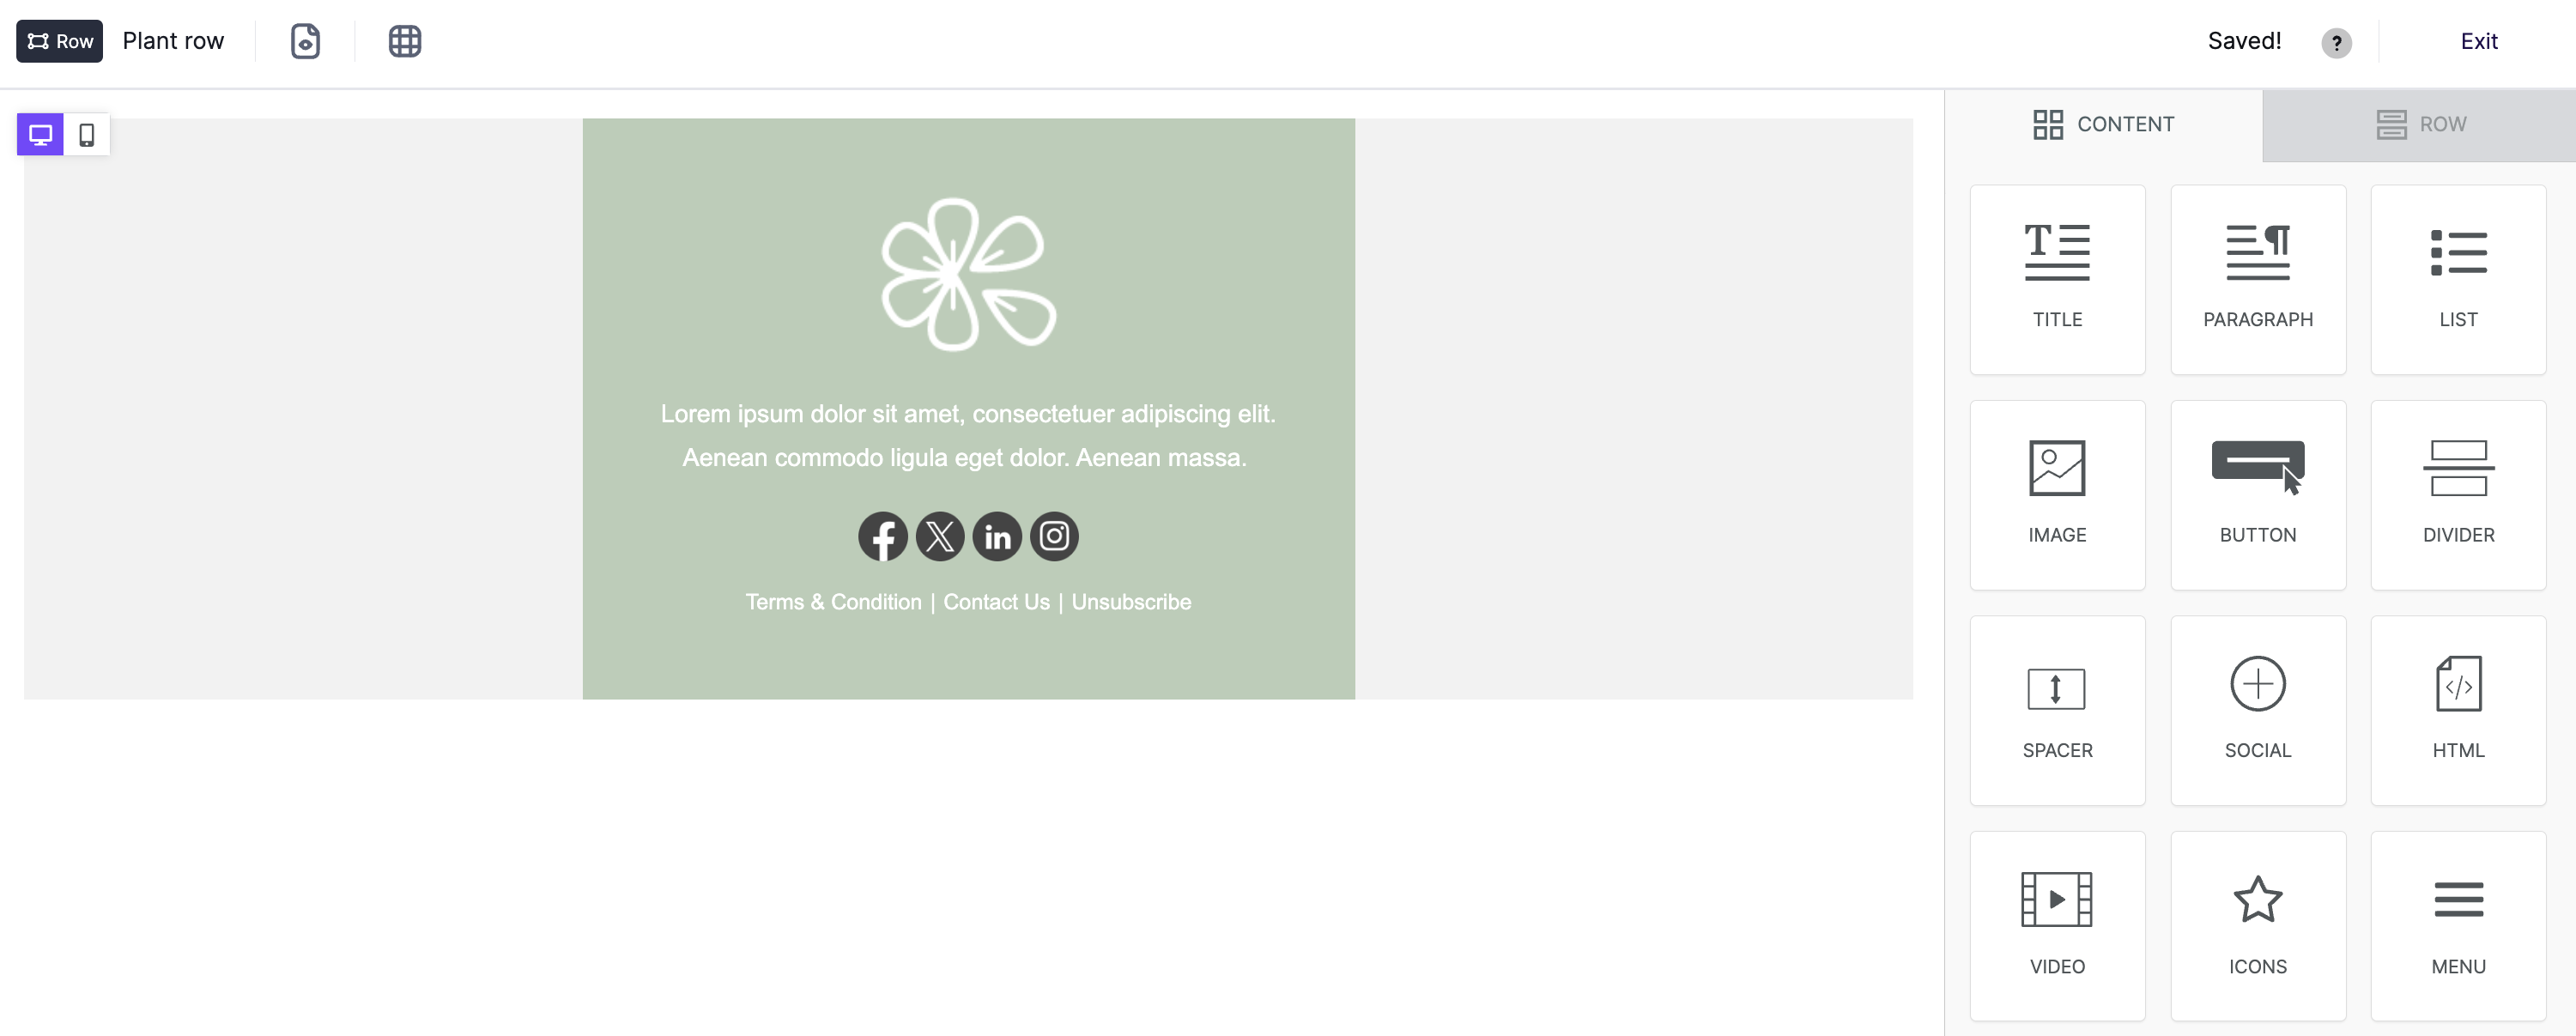
When you finish and exit the Row Builder, you return to the Rows tab. The Row Builder is the only place where you can modify a synced row. Editing a synced row inside a design automatically redirects you to the Row Builder.
For other options available from your Library, see Managing Saved Rows.
Update a row's details
You can manage your standard rows directly inside the builder. In the builder's Row tab, saved rows appear as a preview image. Below the preview, the row name appears on the left. An options icon appears on the right.
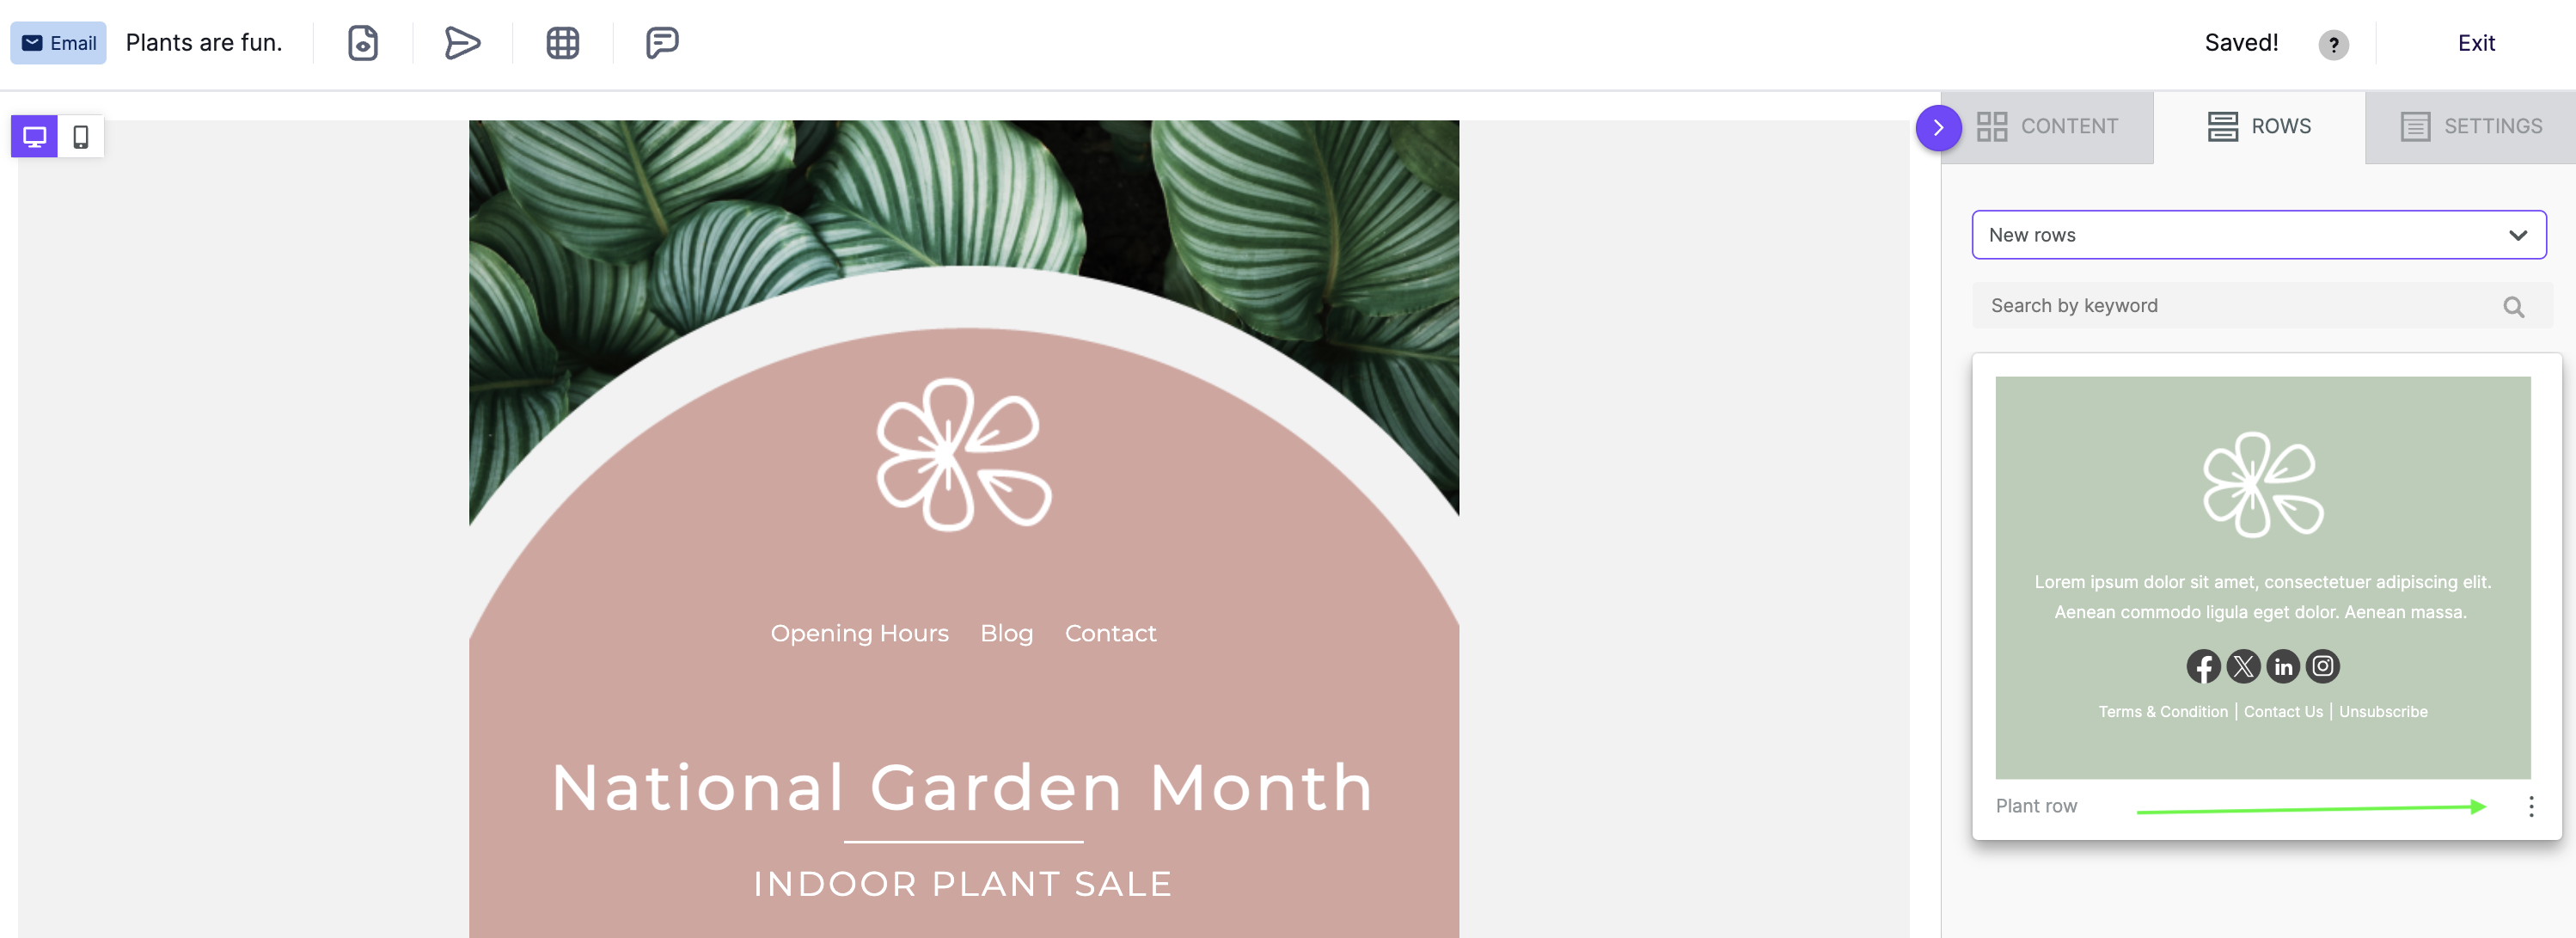
The options icon gives you two choices:
- Edit details
- Delete
The options icon is not available for synced rows. When you view a synced row in the sidebar, you'll see the Synced icon instead. Manage synced rows through your Library. For details, see Managing Saved Rows.
Editing row name and category
Use Edit details to update a saved row's name or move it to a different category.
From this modal, update the row name or select a different category from the dropdown. Type a new category name in the field to create a new category. You can also use Save as new to save the row with the updated details as a new saved row.
Deleting saved rows
Delete rows you no longer need directly from the builder. Select Delete from the options dropdown. You'll be asked to confirm before proceeding.
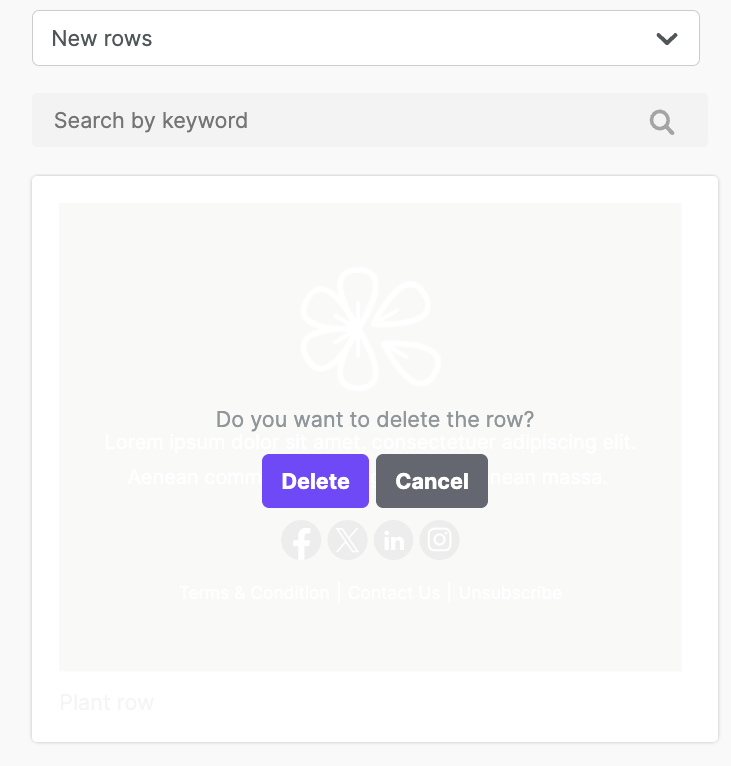
You'll receive a confirmation message when the row has been deleted.
Next: Managing Saved Rows
If you have any questions, feel free to contact us.
Comments
0 comments
Please sign in to leave a comment.