Exporting Emails to Marketo

Beefree App is now RGE Studio!
The email design suite you already know and love just leveled up. We’re working hard to update our help center, but you still may see some references to the old product name.
This article applies to the Email builder in all plans.
Overview
Design your emails in RGE Studio and export them to your Marketo Engage account for sending. The connector replaces manual HTML downloads and imports.
There are two ways to connect your Marketo Engage account:
- From Workspace Settings: connect before you start designing.
- From the Export options of your email.
Complete the Marketo Engage setup before you use either option. Follow the steps below or watch the video tutorial.
Before You Connect
Complete these steps in Marketo Engage. You need the Admin role in your Marketo Engage account. Watch the video guide or follow the steps below.
- Create an API-only user role. Go to Admin > Users & Roles. Open the Roles tab. Create a new role and give it a name. Select the Access API permission. To learn more, see the Adobe documentation on API-only user roles.
- Assign an API-only user to the role you created. First, create an API-only user. Go to Admin > Users & Roles and open the Users tab.
- Create a custom LaunchPoint service using the API-only user.
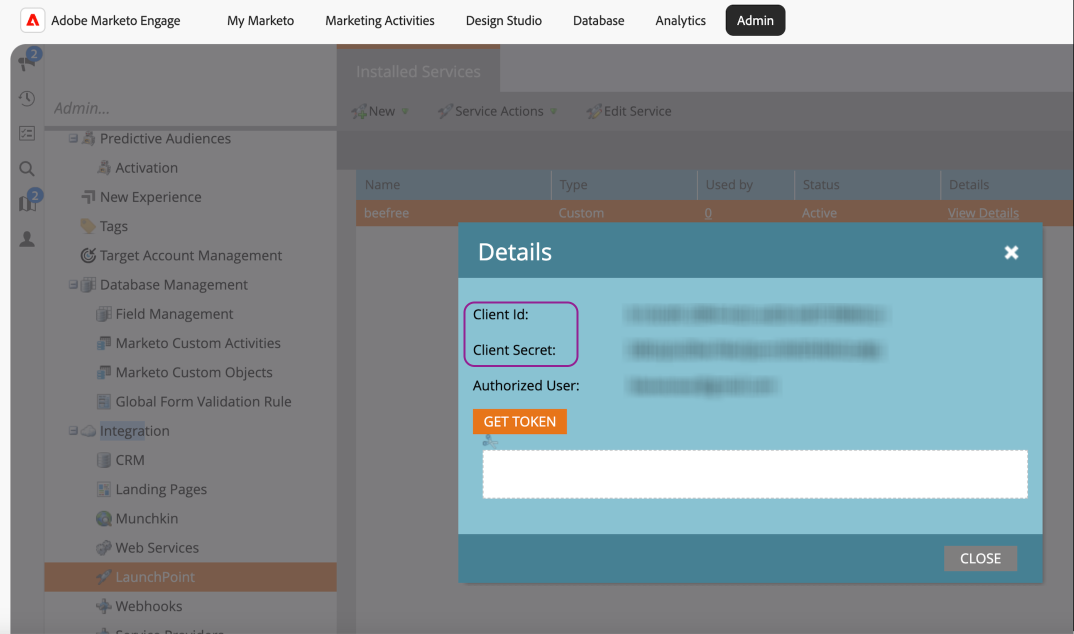
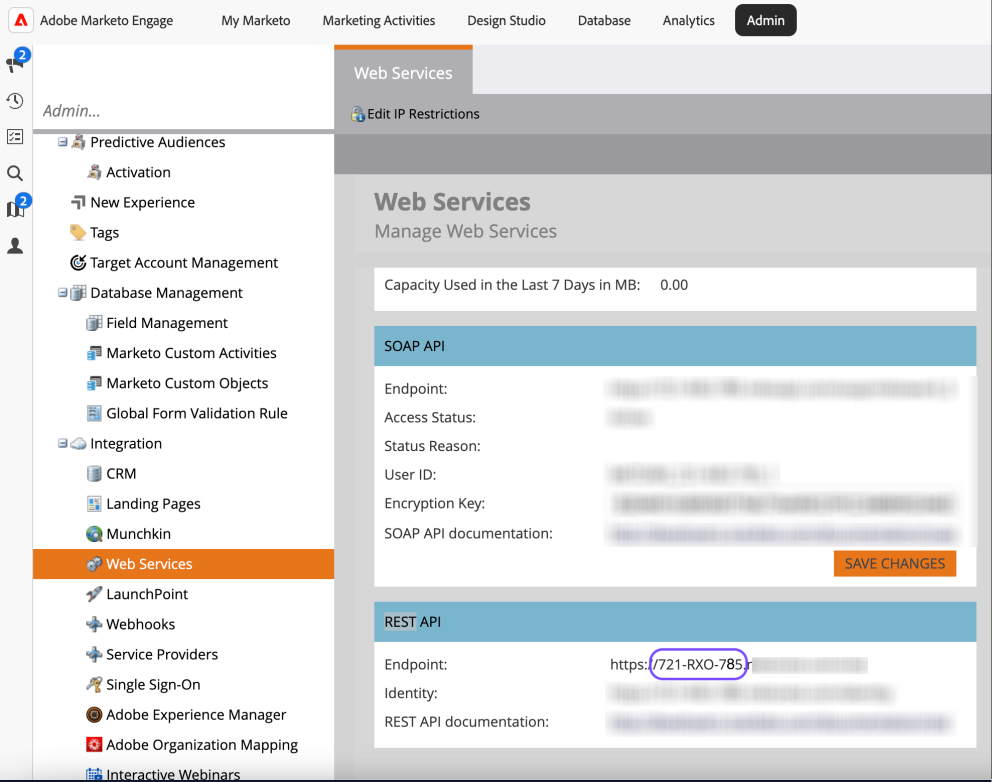
- Find your connection details. You enter these in RGE Studio when you connect.
-
Client ID and Client Secret: Go to Admin > Integration > LaunchPoint. Select the custom service and click View Details.
-
Subdomain: Go to Admin > Integration > Web Services > REST API.
-
1. Connect from Workspace Settings
Go to Settings > Connectors. Click the Connect button for Marketo Engage. Enter the details you found in Marketo Engage:
- Client ID and Client Secret: Alphanumeric codes that authorize RGE Studio to export to your Marketo Engage account.
- Subdomain: The address of your Marketo Engage account.
A confirmation message appears when the connection succeeds.
2. Connect from Export
When your email is ready, save your changes. Click Export on the upper-right side of the screen. Select Integrations and choose Marketo Engage from the list.
If this is your first time connecting, enter your connection details. A confirmation message appears when RGE Studio connects to Marketo Engage.
The export modal opens. You can set these options before you click Create:
- Template folder: Select a Marketo Engage template folder from the drop-down. If you skip this, RGE Studio uses the default Marketo folder.
- Campaign: Turn on this option to also create a Marketo campaign. The email is ready to send right after export. This option also exports any subject set in RGE Studio.
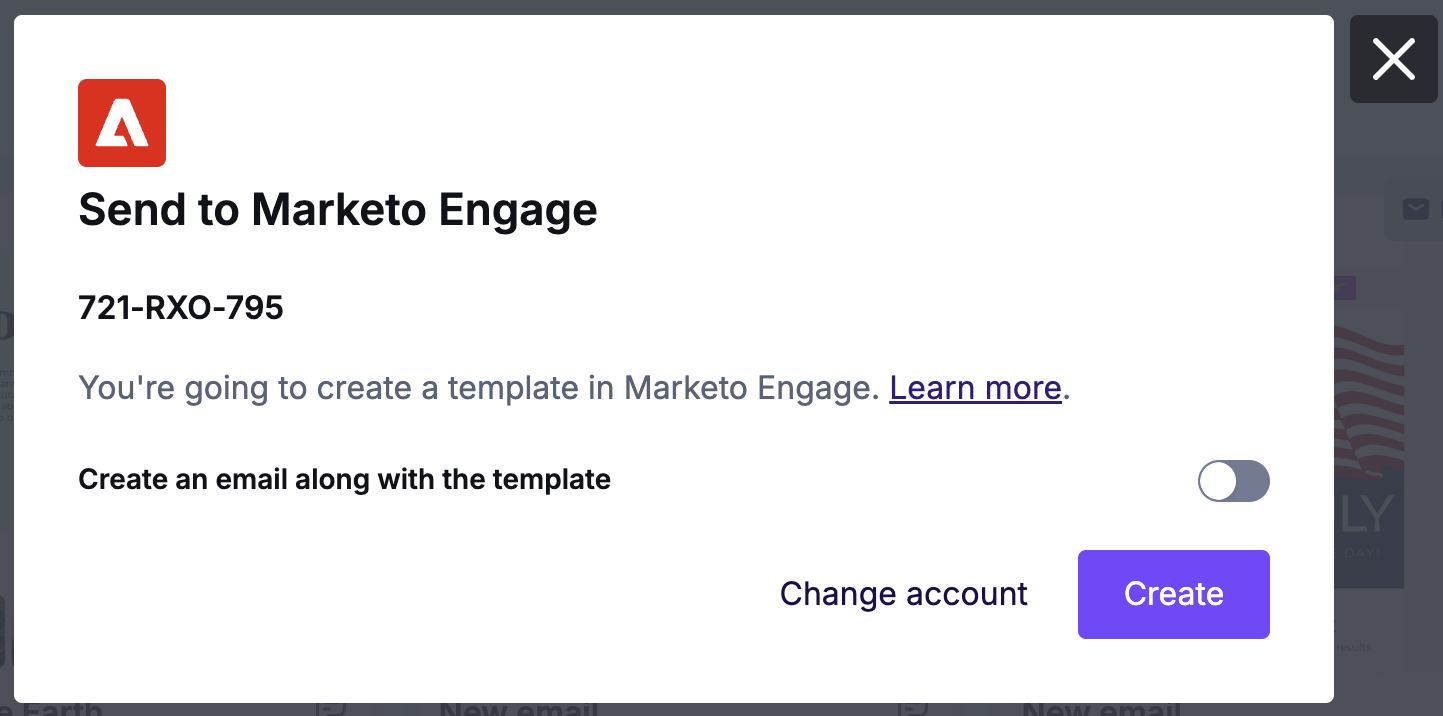
Click Create to export. A message confirms that the email exported to Marketo.
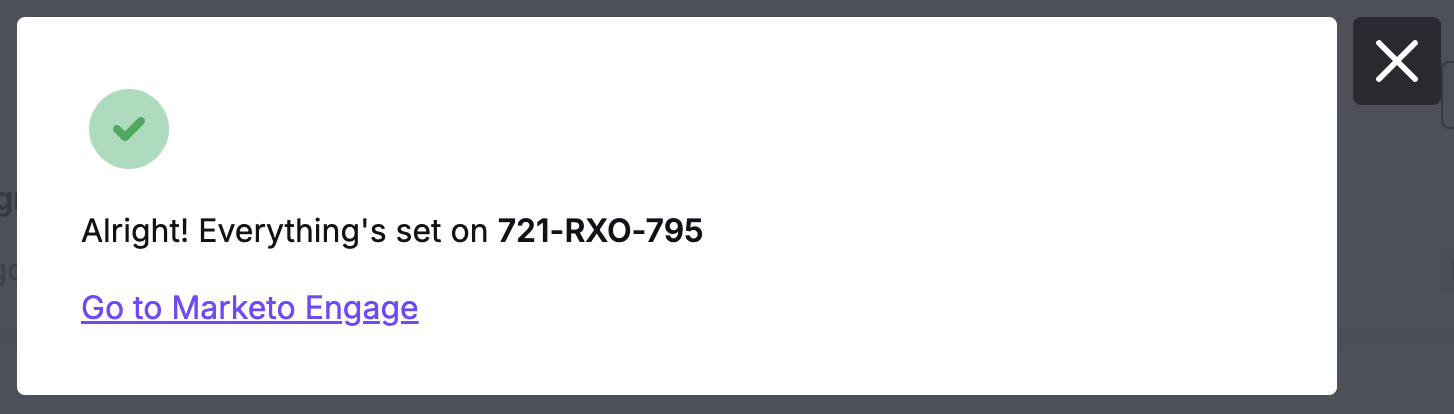
Click the link in the export modal to open your email in Marketo Engage. The email opens in the Email Templates folder in Design Studio. You can preview your exported design there.
If you created a campaign, you go to the Email Overview in Design Studio instead. RGE Studio still exports a version to your Email Templates folder.
Exporting Existing Designs
You can update an email template you already exported to Marketo Engage. Open the email and make your changes. Click Export. Select Update Existing to overwrite the previous version in Marketo Engage.
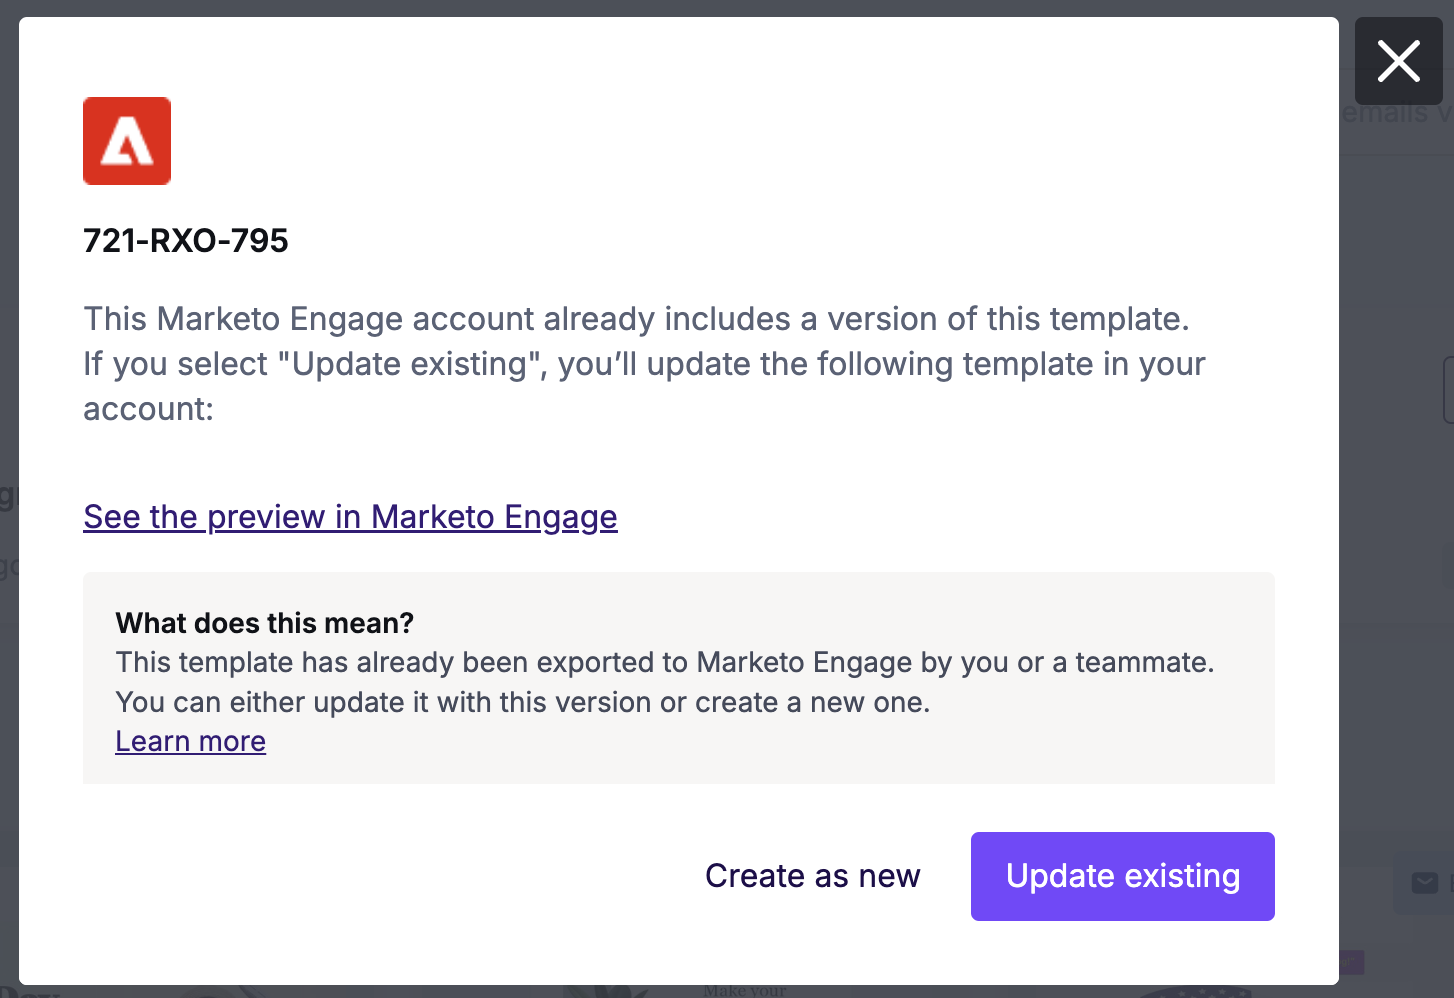
The updated email keeps your changes, including the HTML and email name. Update Existing also updates any Marketo emails created from that template.
Important Considerations
- Enable pop-ups in your browser to open Email Preview and Email Editor in Marketo Engage.
- Marketo returns an error for charset emojis. RGE Studio replaces them with a [missing-emoji] placeholder to prevent the error. To learn more, see the Marketo documentation on emojis.
- RGE Studio adds a timestamp to the email name on export. You can edit the name in Marketo.
- Set a subject before your first export. A subject you add later through Update Existing does not reach Marketo.
- RGE Studio exports the preheader in the HTML code, so it does not display in Marketo.
- If you see duplicate preheader text, you may need to deselect the Preheader box in the Marketo email settings.
Looking for a different sending platform? You can check our complete list of connectors — or request a new one!
If you have any questions, feel free to contact us.
Comments
0 comments
Please sign in to leave a comment.