Managing Saved Rows

Beefree App is now RGE Studio!
The email design suite you already know and love just leveled up. We’re working hard to update our help center, but you still may see some references to the old product name.
This article applies to all plans. However, some features may be limited or unavailable on the Starter plan.
Overview
This article covers how to manage your saved rows in the RGE Studio Library. For basic information on saved rows, start with our Saved Rows article. For information on using saved rows in the builder, see Designing with Saved Rows.
Manage your rows
You can find all your saved rows in the Library section of your RGE Studio account.

Rows have a dedicated section under the Rows tab. Synced rows are labeled with a special icon. For all rows, an options icon appears in the upper right corner of the preview. Hover over a row preview to see this icon.
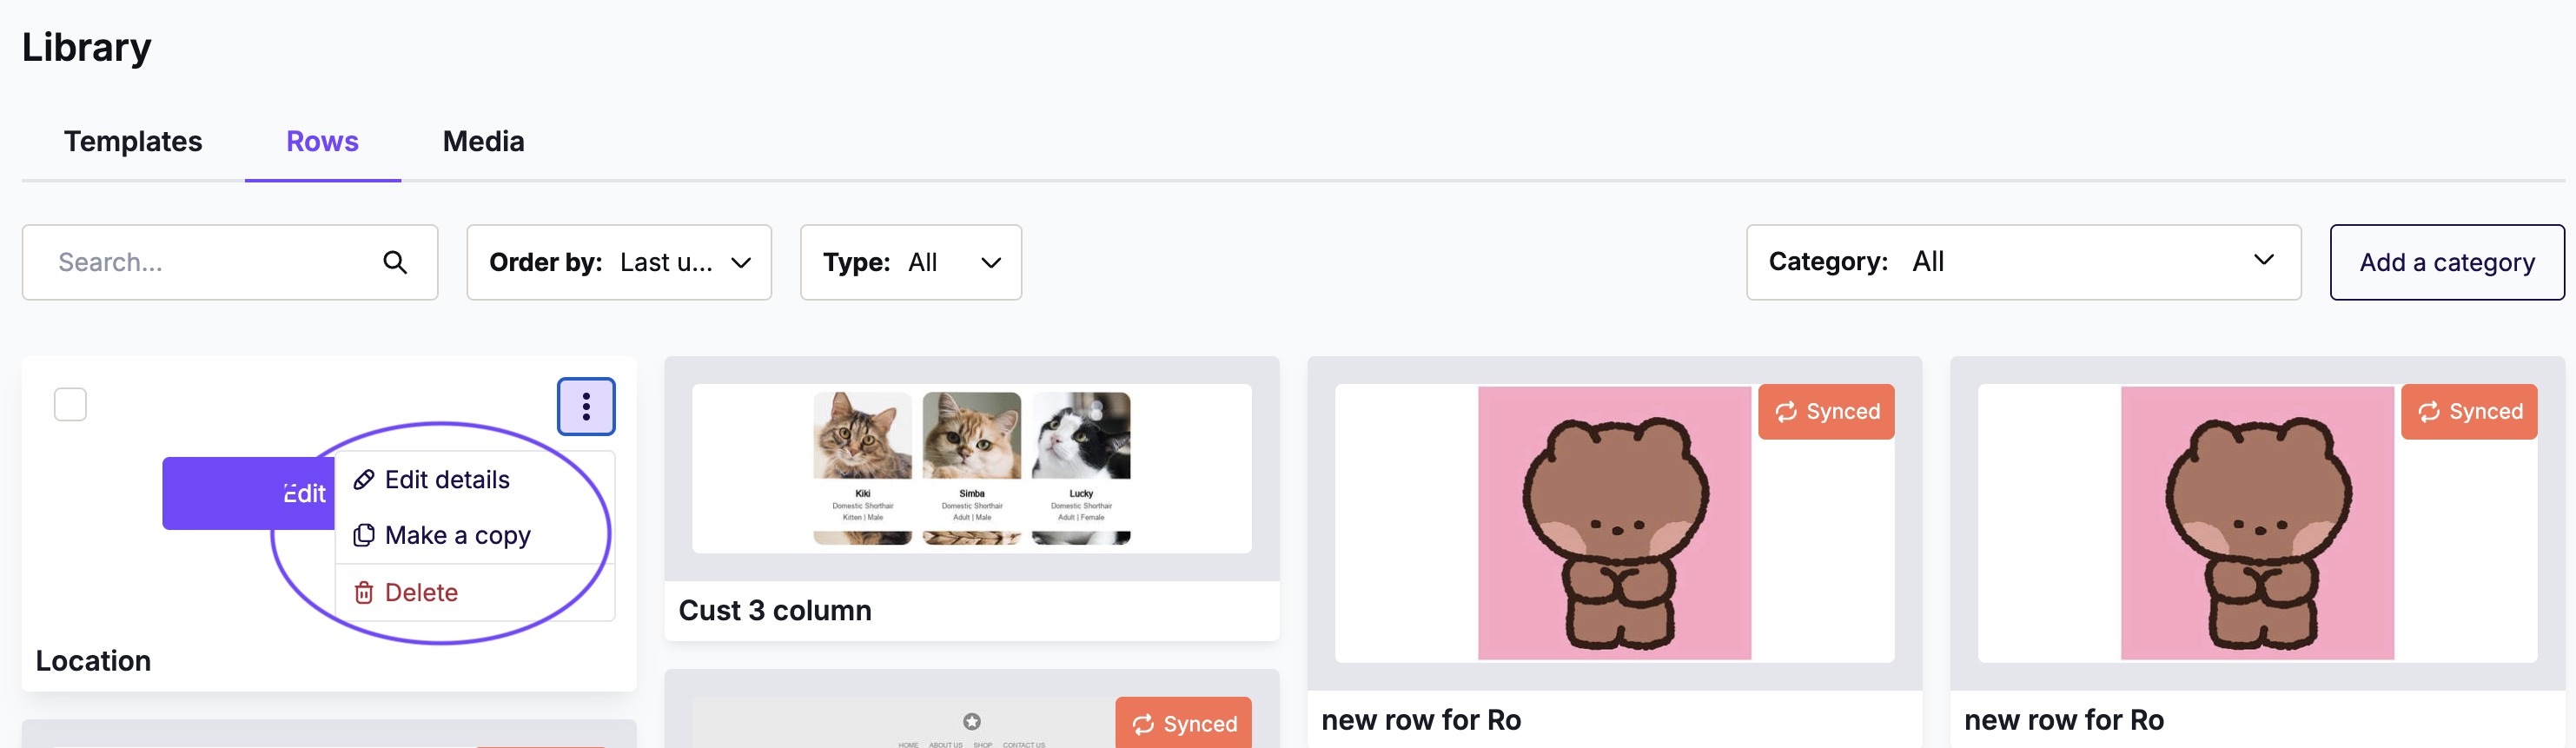
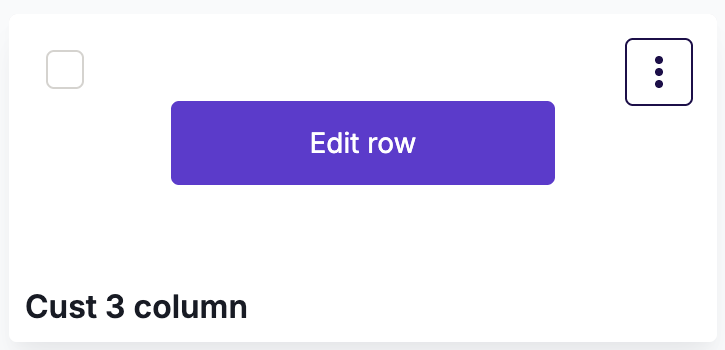
You can also click Edit row when hovering over a row thumbnail. This opens the Row Builder, where you can edit the saved row's content directly.
If you have a Business or Enterprise account, the Library is available at the Workspace level. Select a workspace first to access your Library.
In the Rows Library, you can:
- Search by saved row name.
- Order rows by name, update date, or creation date.
- Filter by row type (standard or synced).
- Create new row categories.
- Preview all your rows.
- Launch the Row Builder to update saved row content.
- Rename a row or change its category by selecting Edit.*
- Copy rows to a different workspace.**
- Delete rows no longer in use.
*Categories are only available on Professional, Business, and Enterprise plans.
**Multiple workspaces are only available on Business and Enterprise plans.
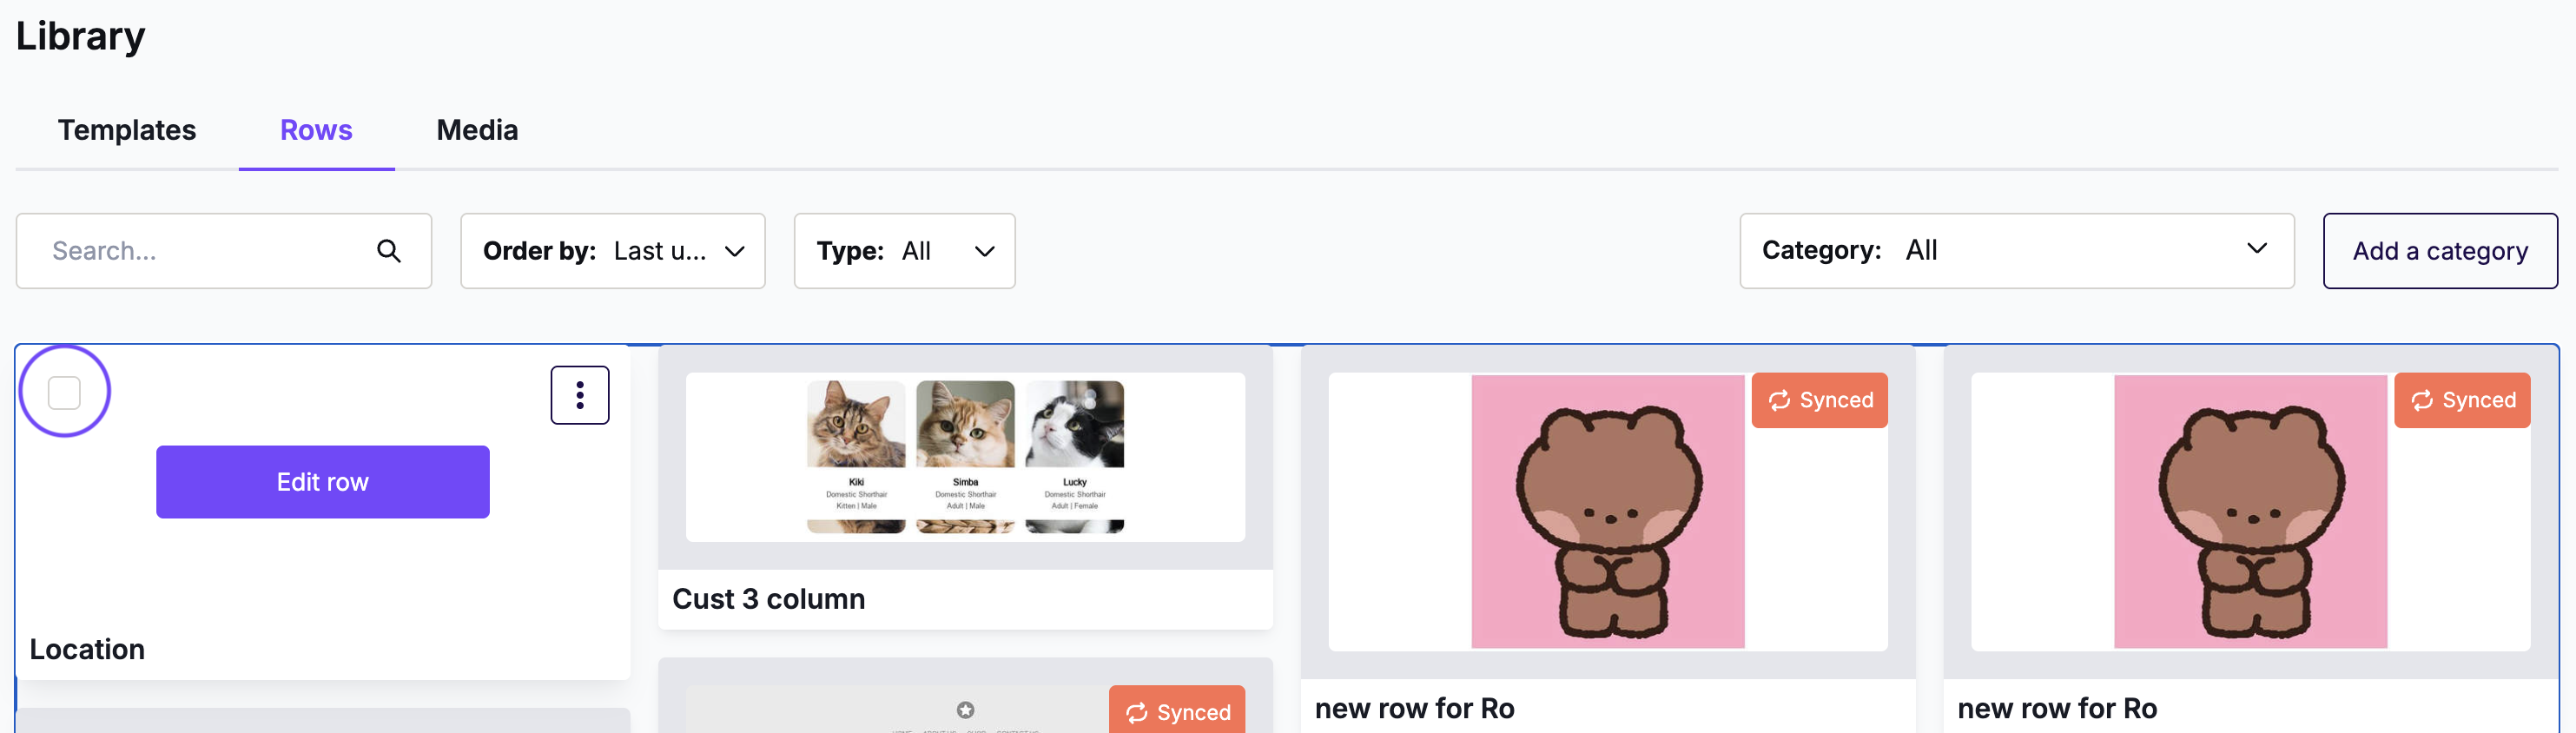
You can also use bulk selection to recategorize or delete multiple rows at once. On Business or Enterprise, use bulk selection to copy rows between workspaces.
When deleting rows, confirm the action to proceed.
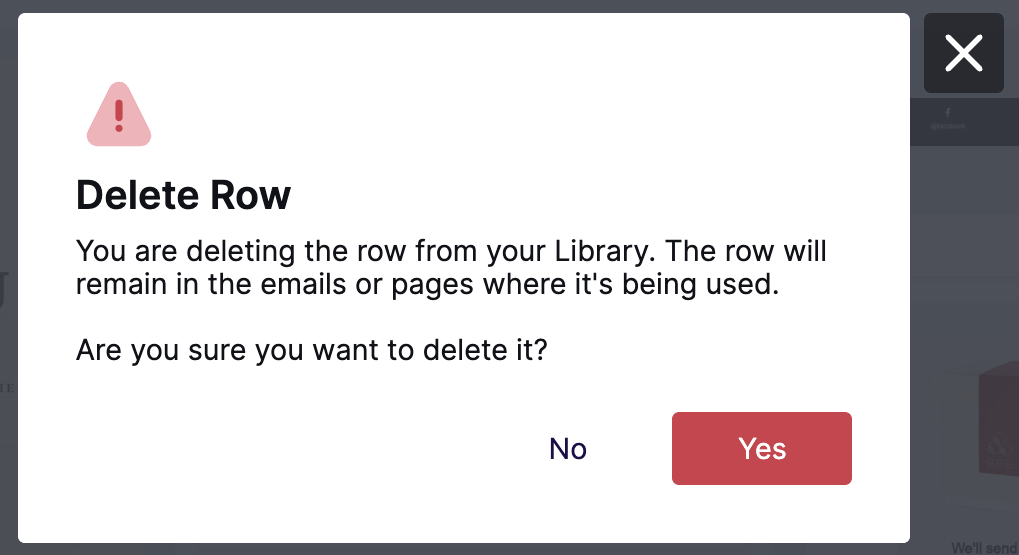
Synced rows cannot be deleted in bulk because they may affect multiple designs. Delete synced rows individually.
Manage row categories
This feature is not available in the Starter plan.
Row categories help you keep rows organized. Use categories to filter your saved rows in the Library. In the builder, rows are organized by category to help you find them faster.
For example, you might have multiple email footers for different campaigns. Create a category to group them together. In the Library, click Add Category.
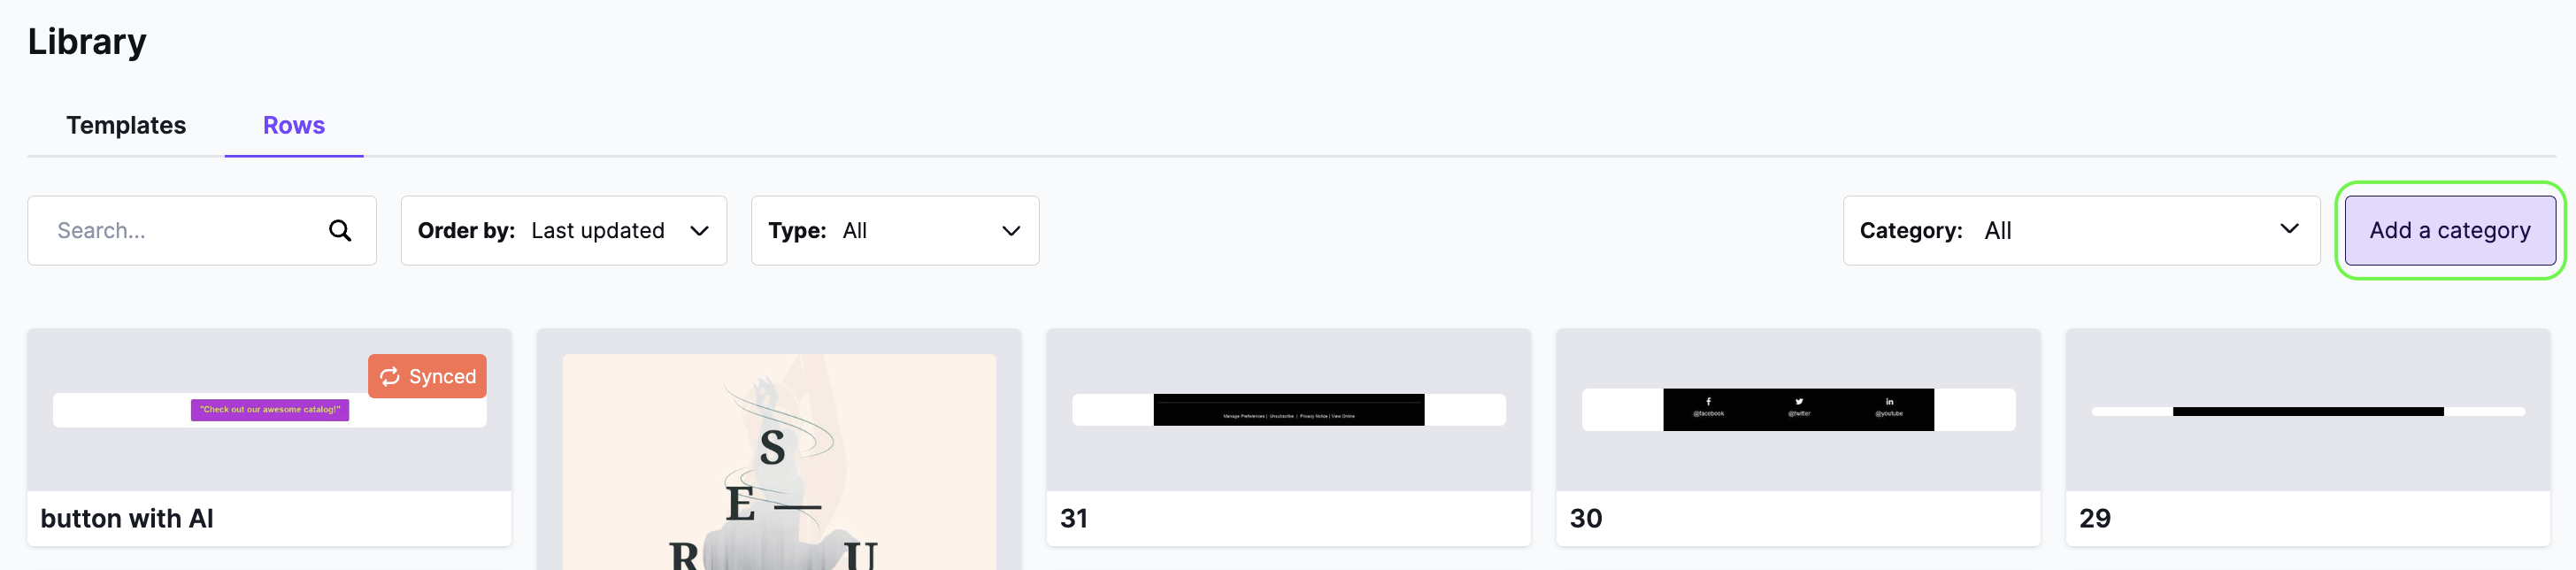
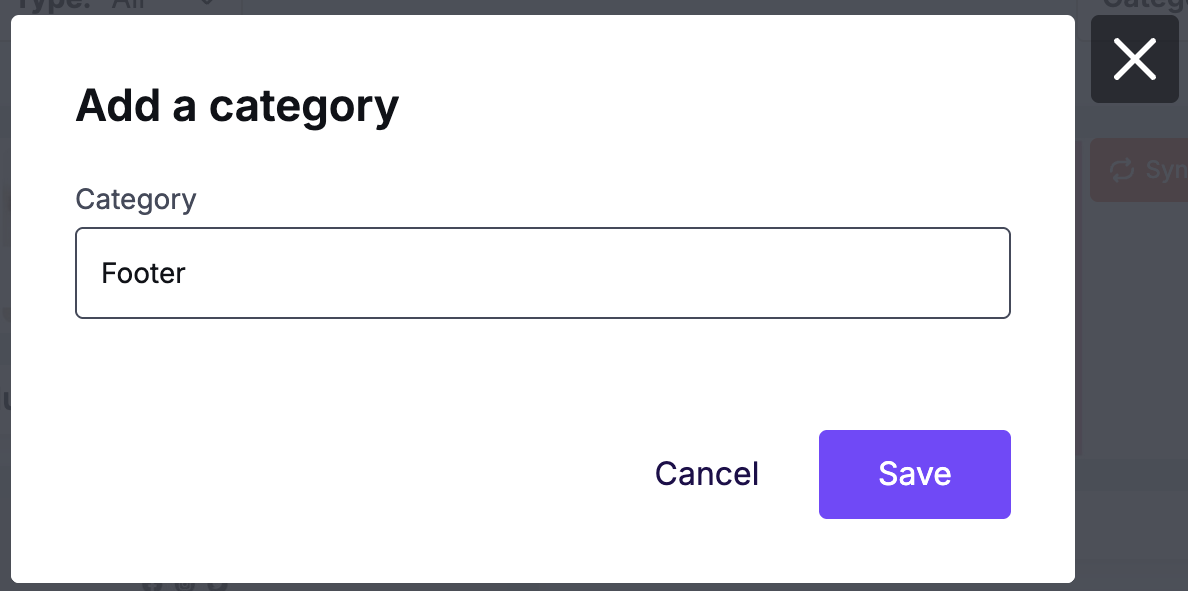
Type a name for your category and click Save to create it.
Your new category appears in the categories list. Edit or delete categories from this list at any time. Hover over a category to see these options.
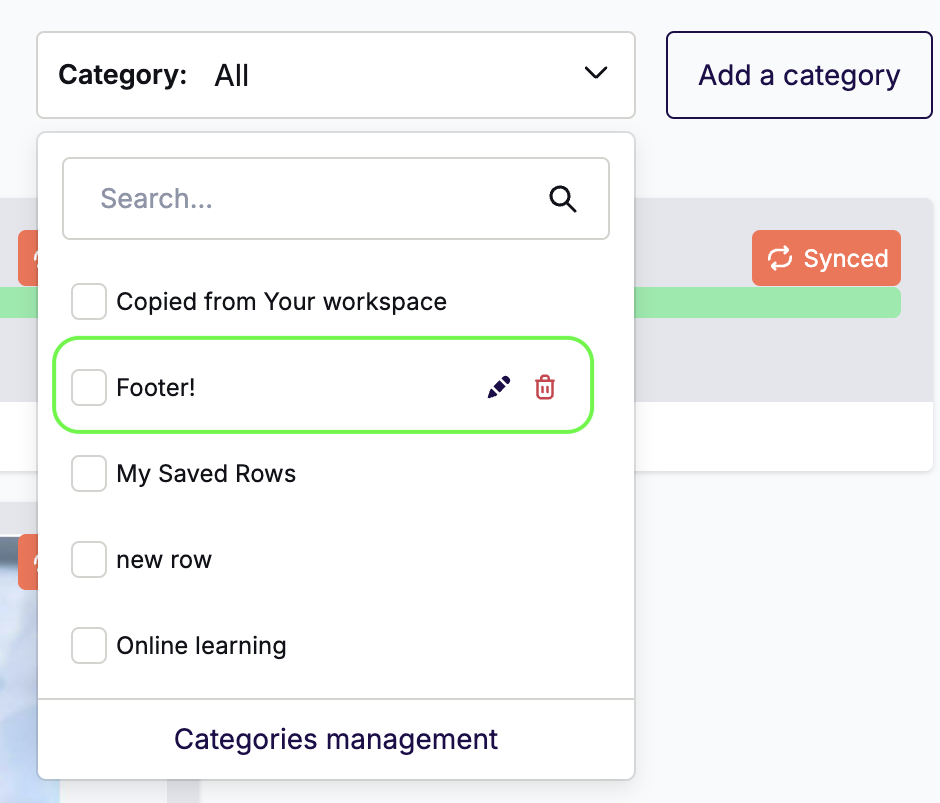
You cannot edit or delete the default Saved Rows category.
To add rows to a new category, select any saved row and click Edit details.
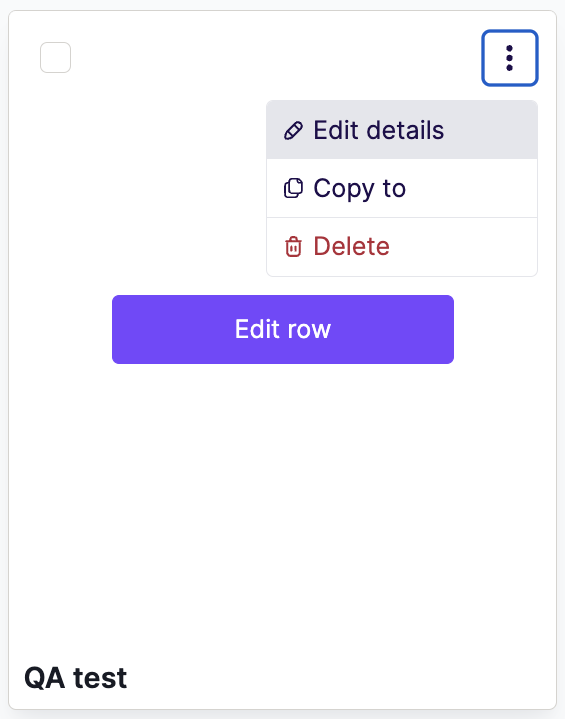
A modal opens with a dropdown to change the category.
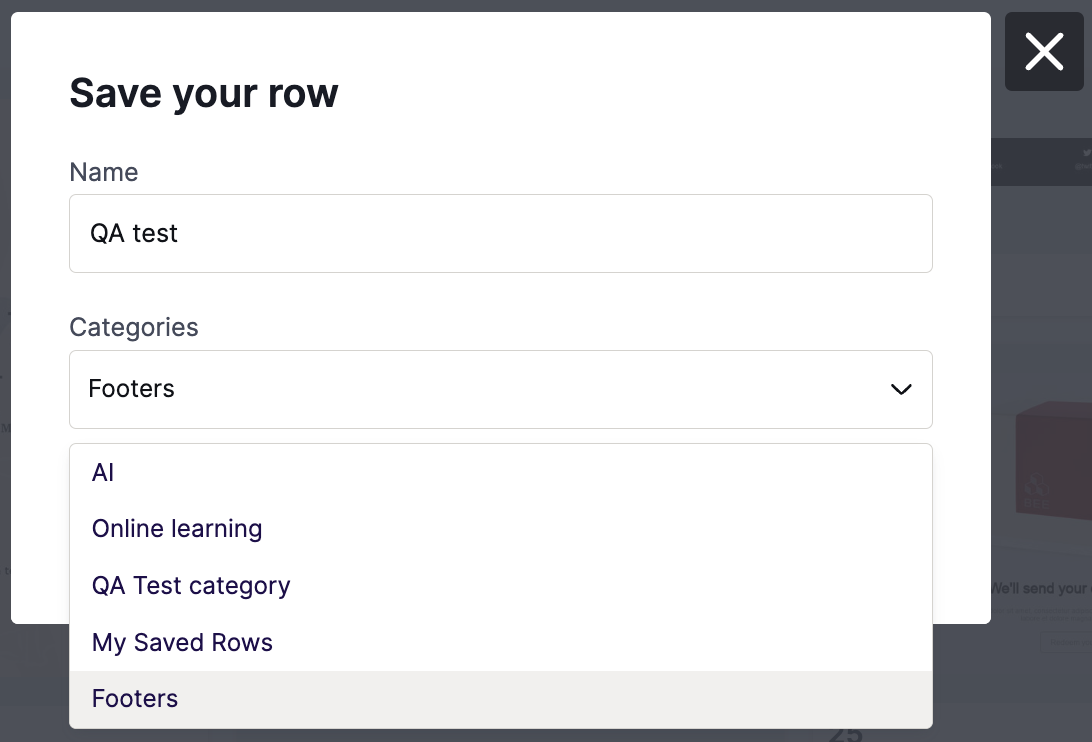
Click Update to save your changes. You can then filter by category to see which rows it contains.
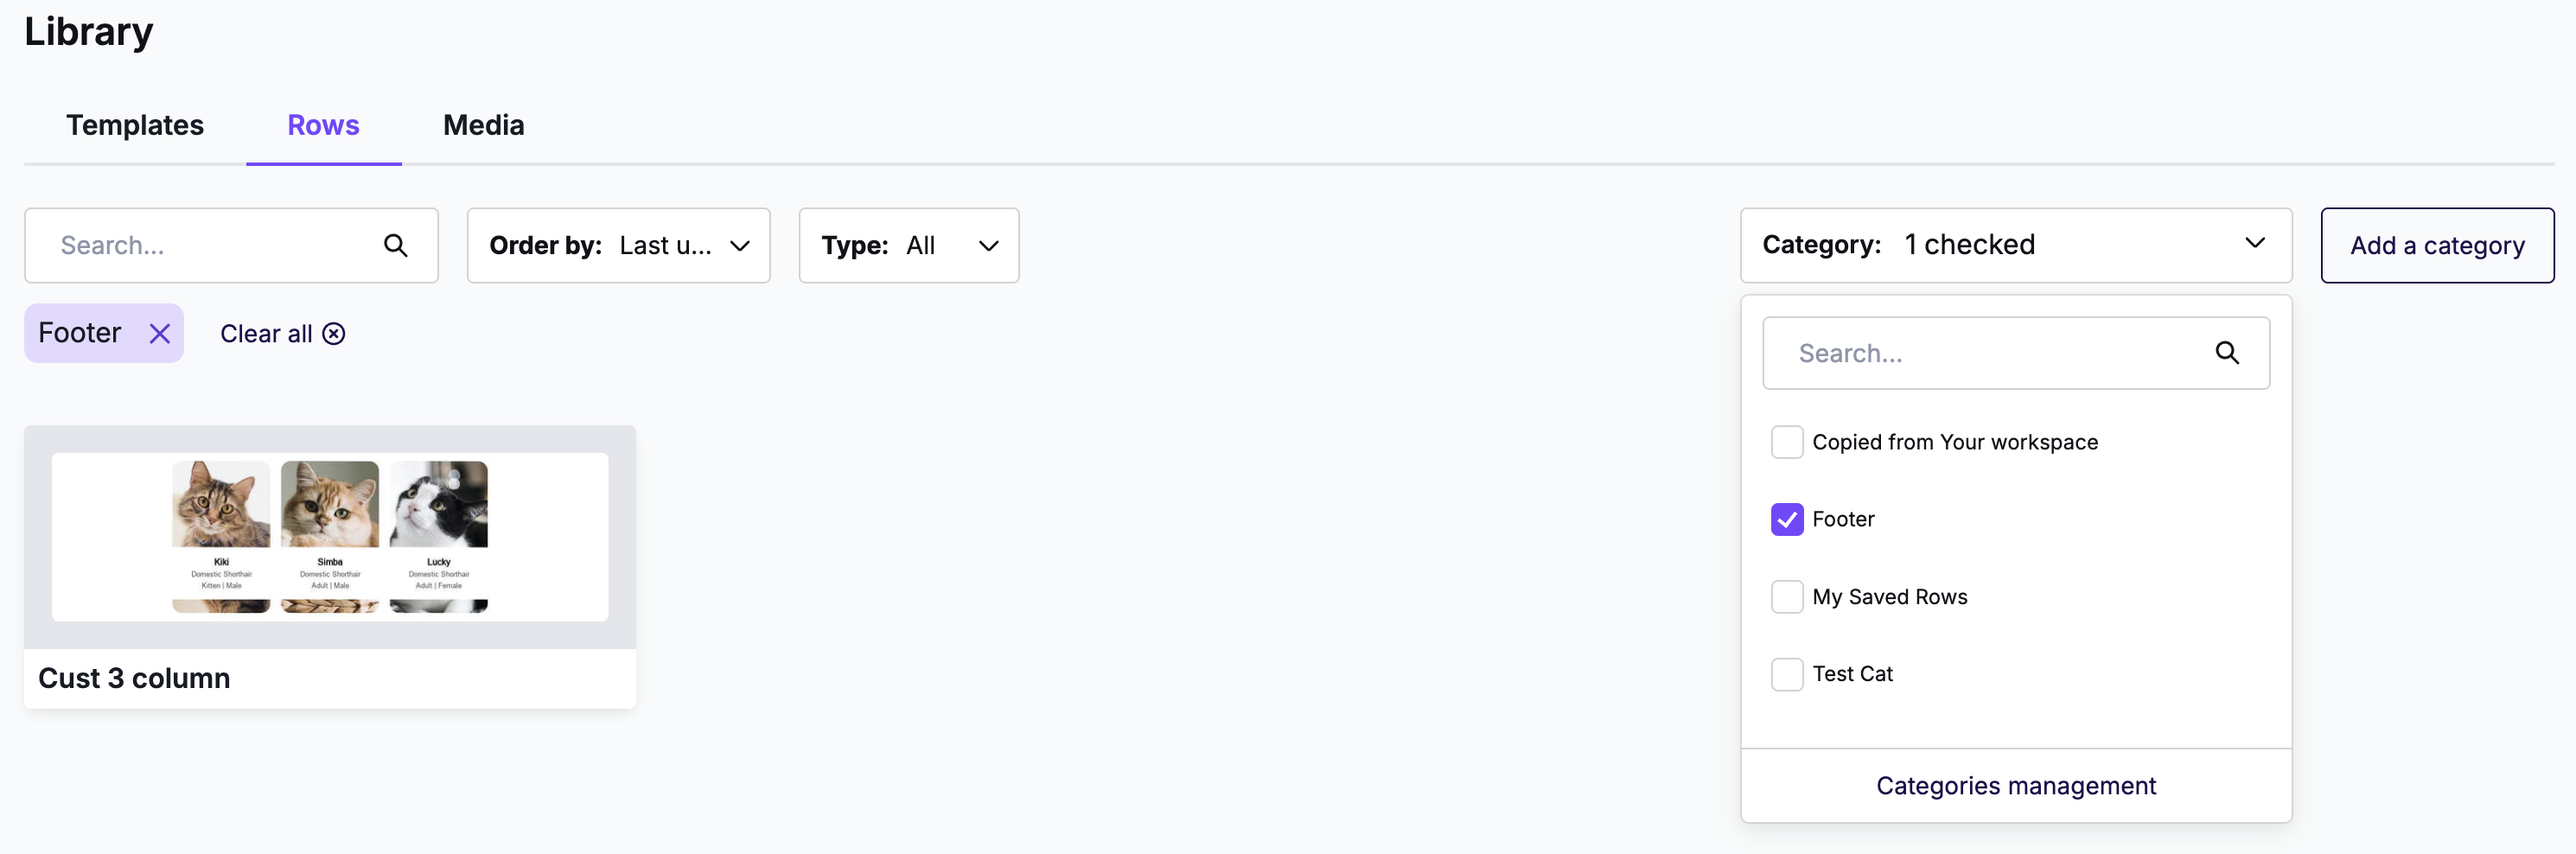
You can save up to 150 rows per category. There is no limit to the number of categories you can create.
Row category order
You can manage the order your row categories appear in the builder sidebar. Access this option from the Library or from Settings.
Open the category dropdown menu in the Library.
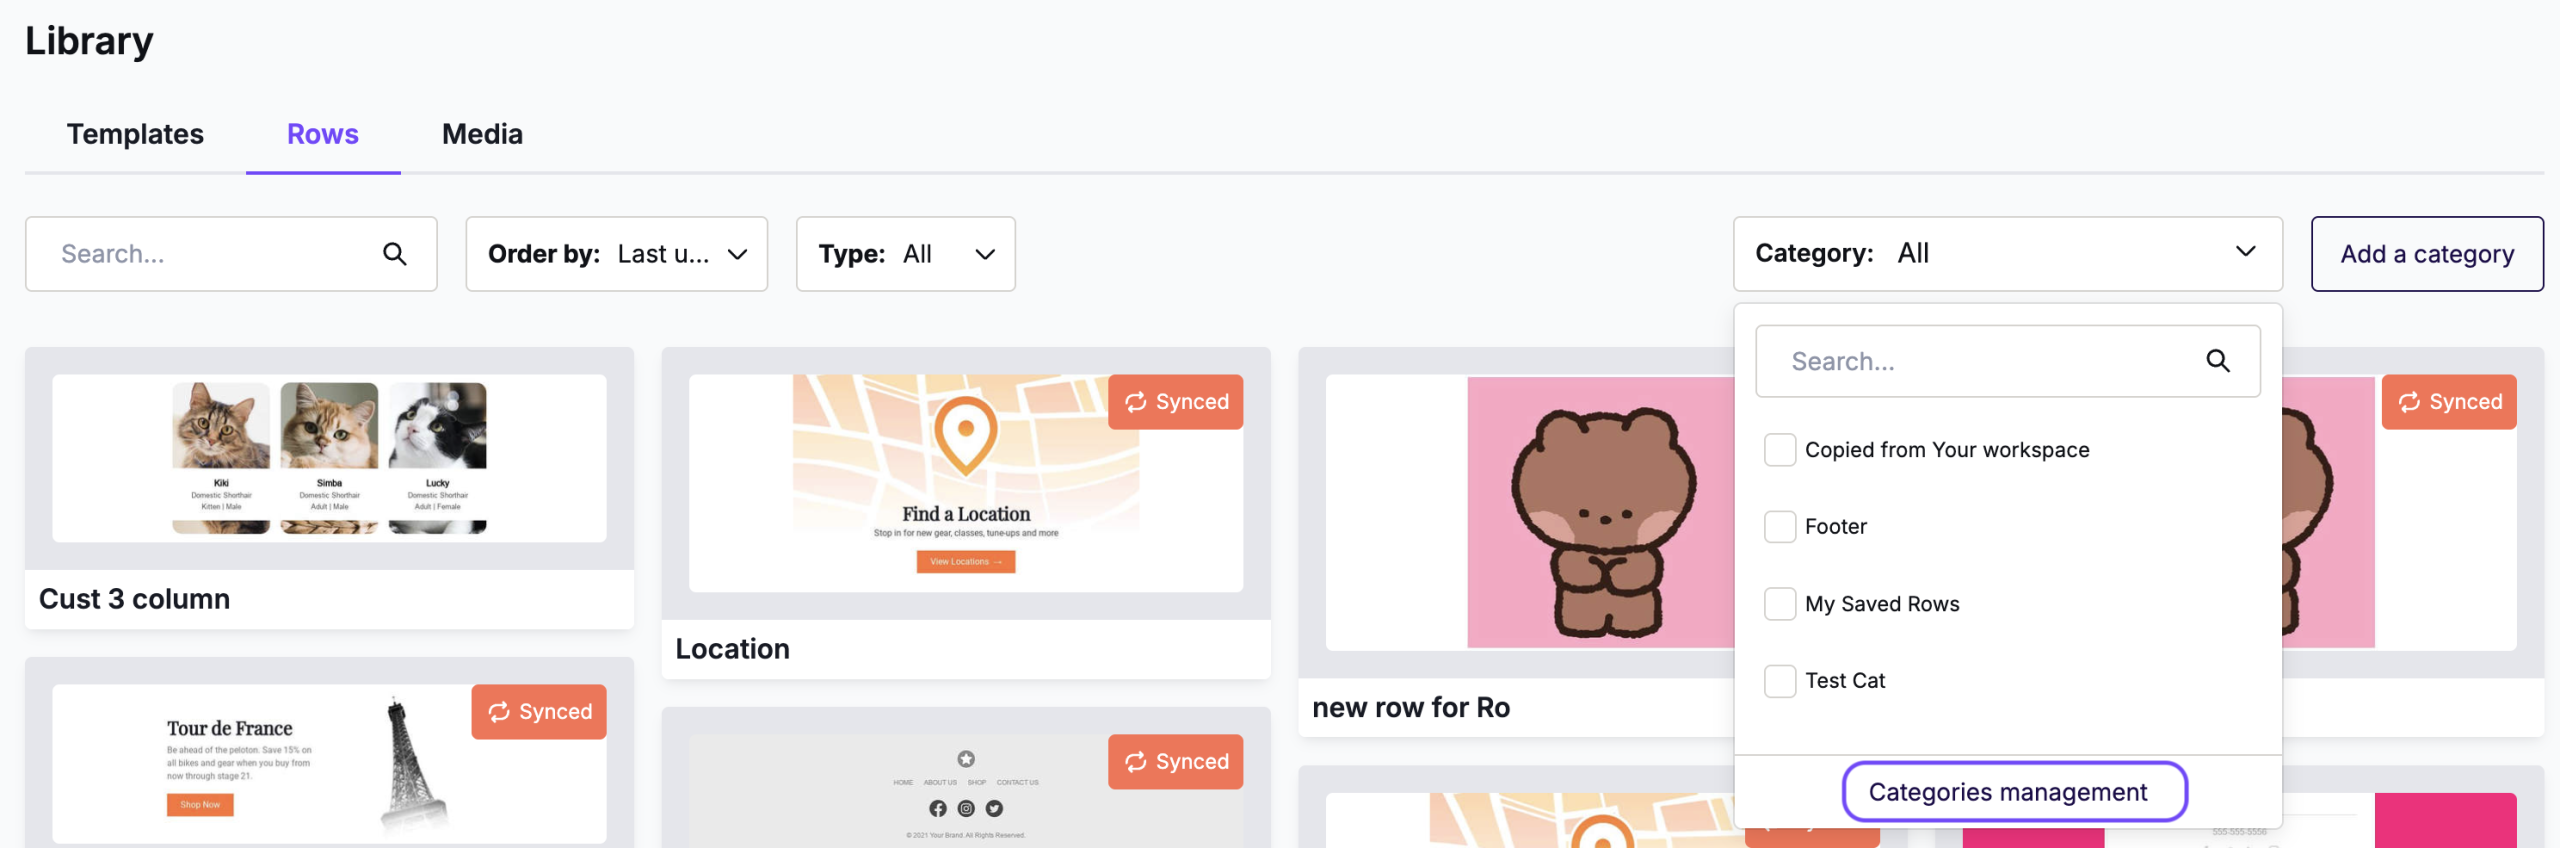
Click Categories management at the bottom of the dropdown. Drag and drop categories to reorder them, then click Confirm to save.
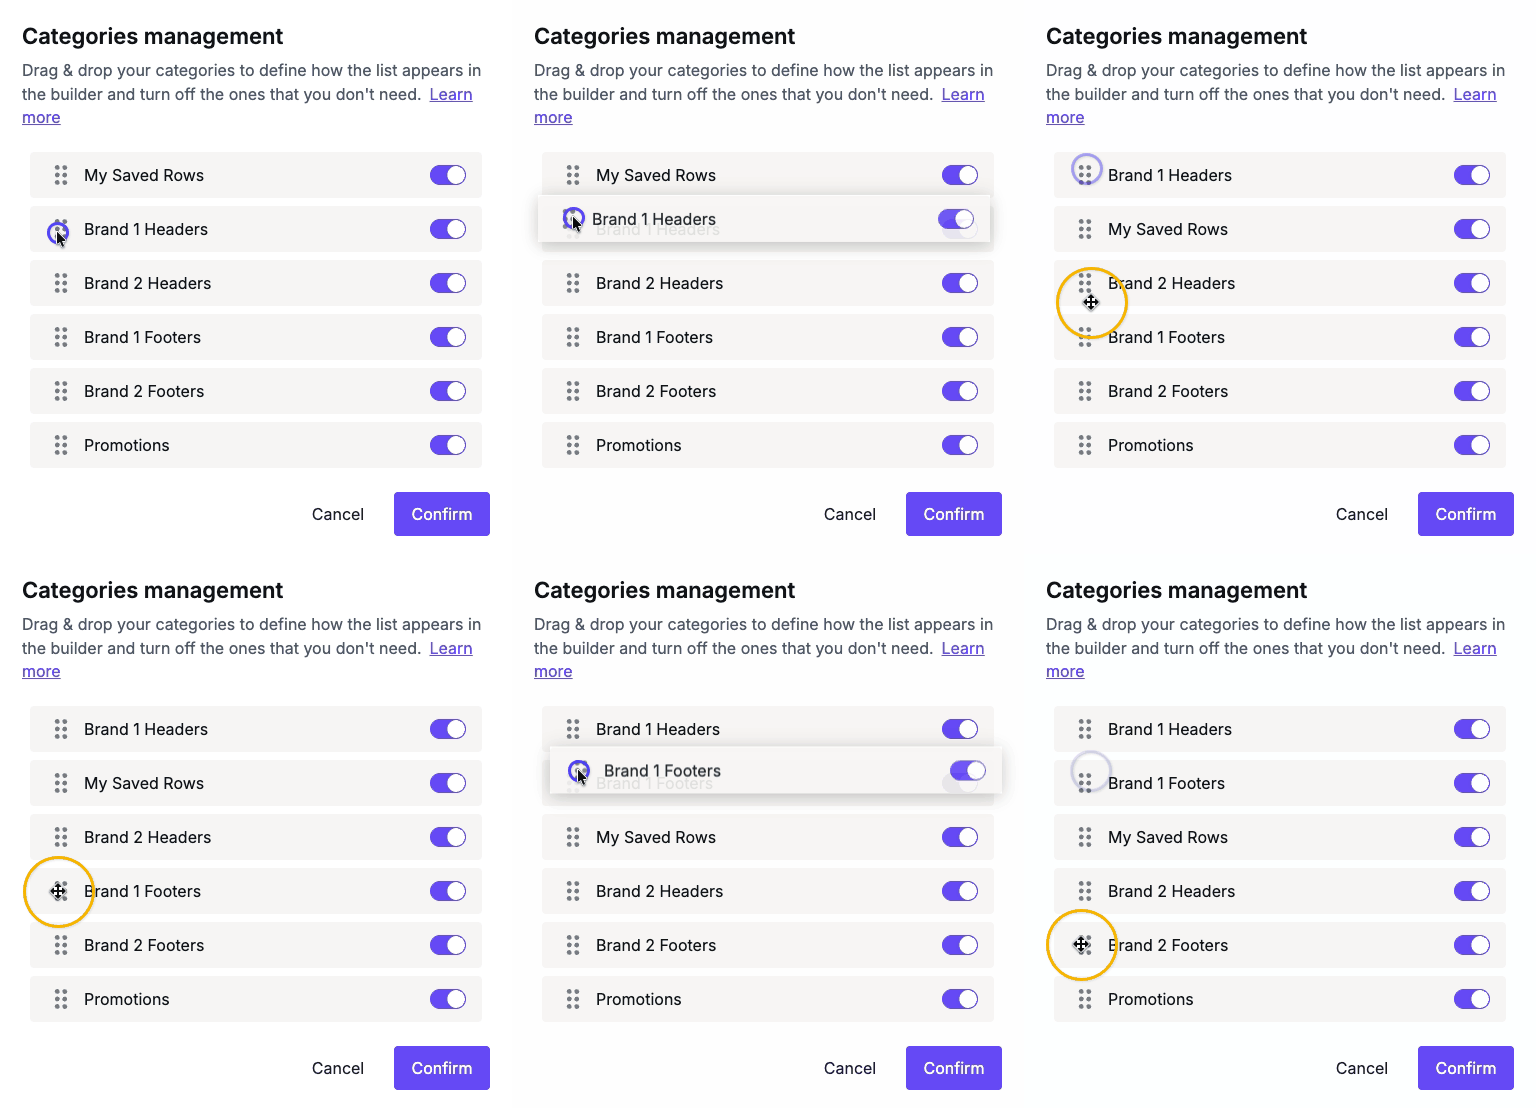
You can also access the same reorder option using the Manage button under the Row categories order section in Settings > General Settings.
Hide a category
You can disable and enable categories from the Library or from Settings.
Open the category dropdown menu in the Library. Click Categories management at the bottom of the dropdown. In the modal, click the toggle next to the category you want to hide. Click Confirm to save.
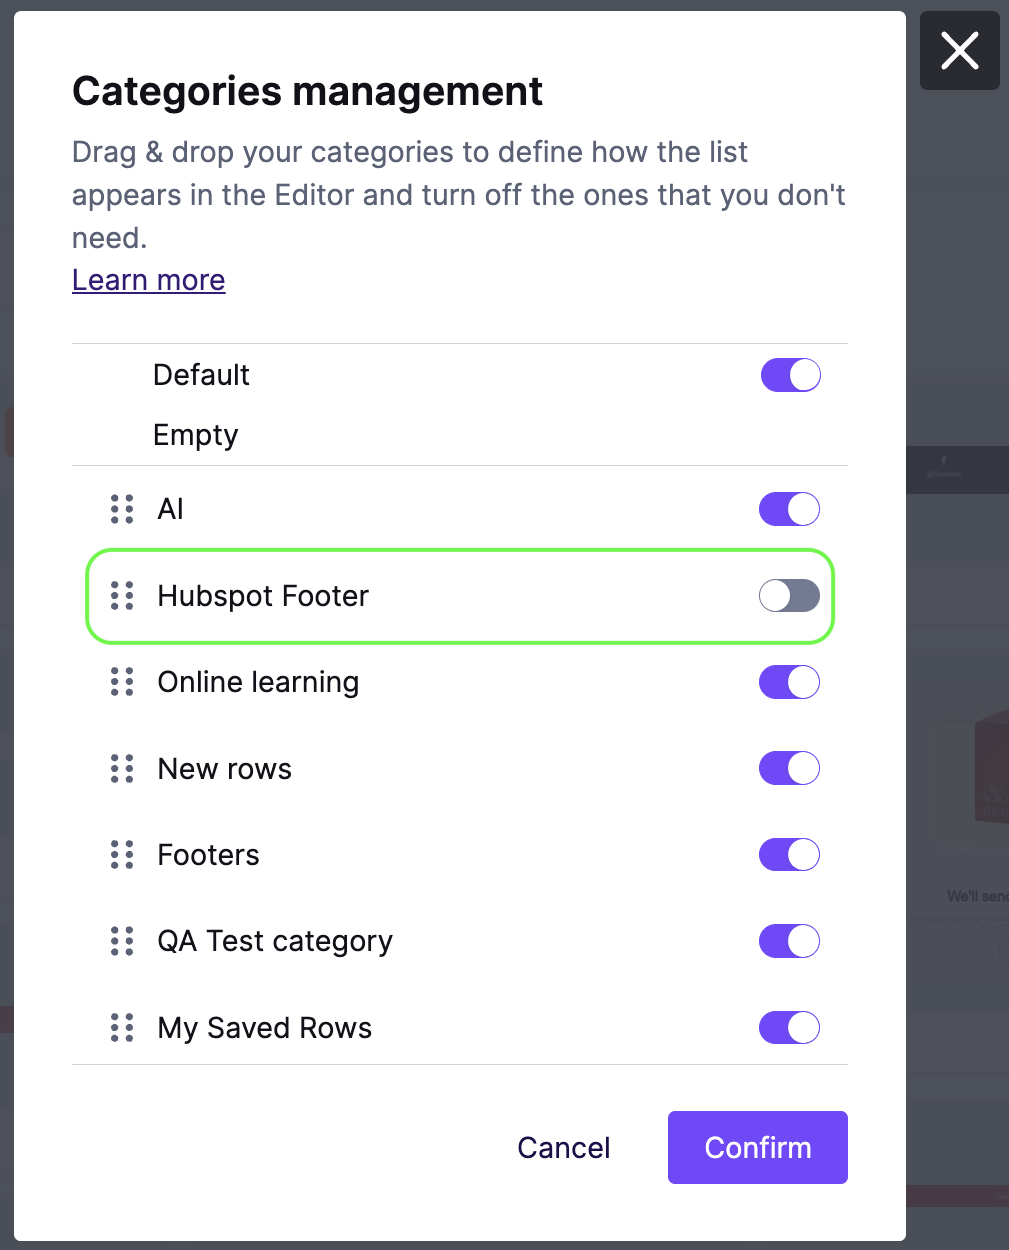
You can also access this option using the Manage button under the Row categories order section in Settings > General Settings.
Copy rows to other workspaces
This section applies to the Business and Enterprise plans.
Accounts with multiple workspaces include a Make a copy option in the saved row options menu. It also appears when using bulk selection.
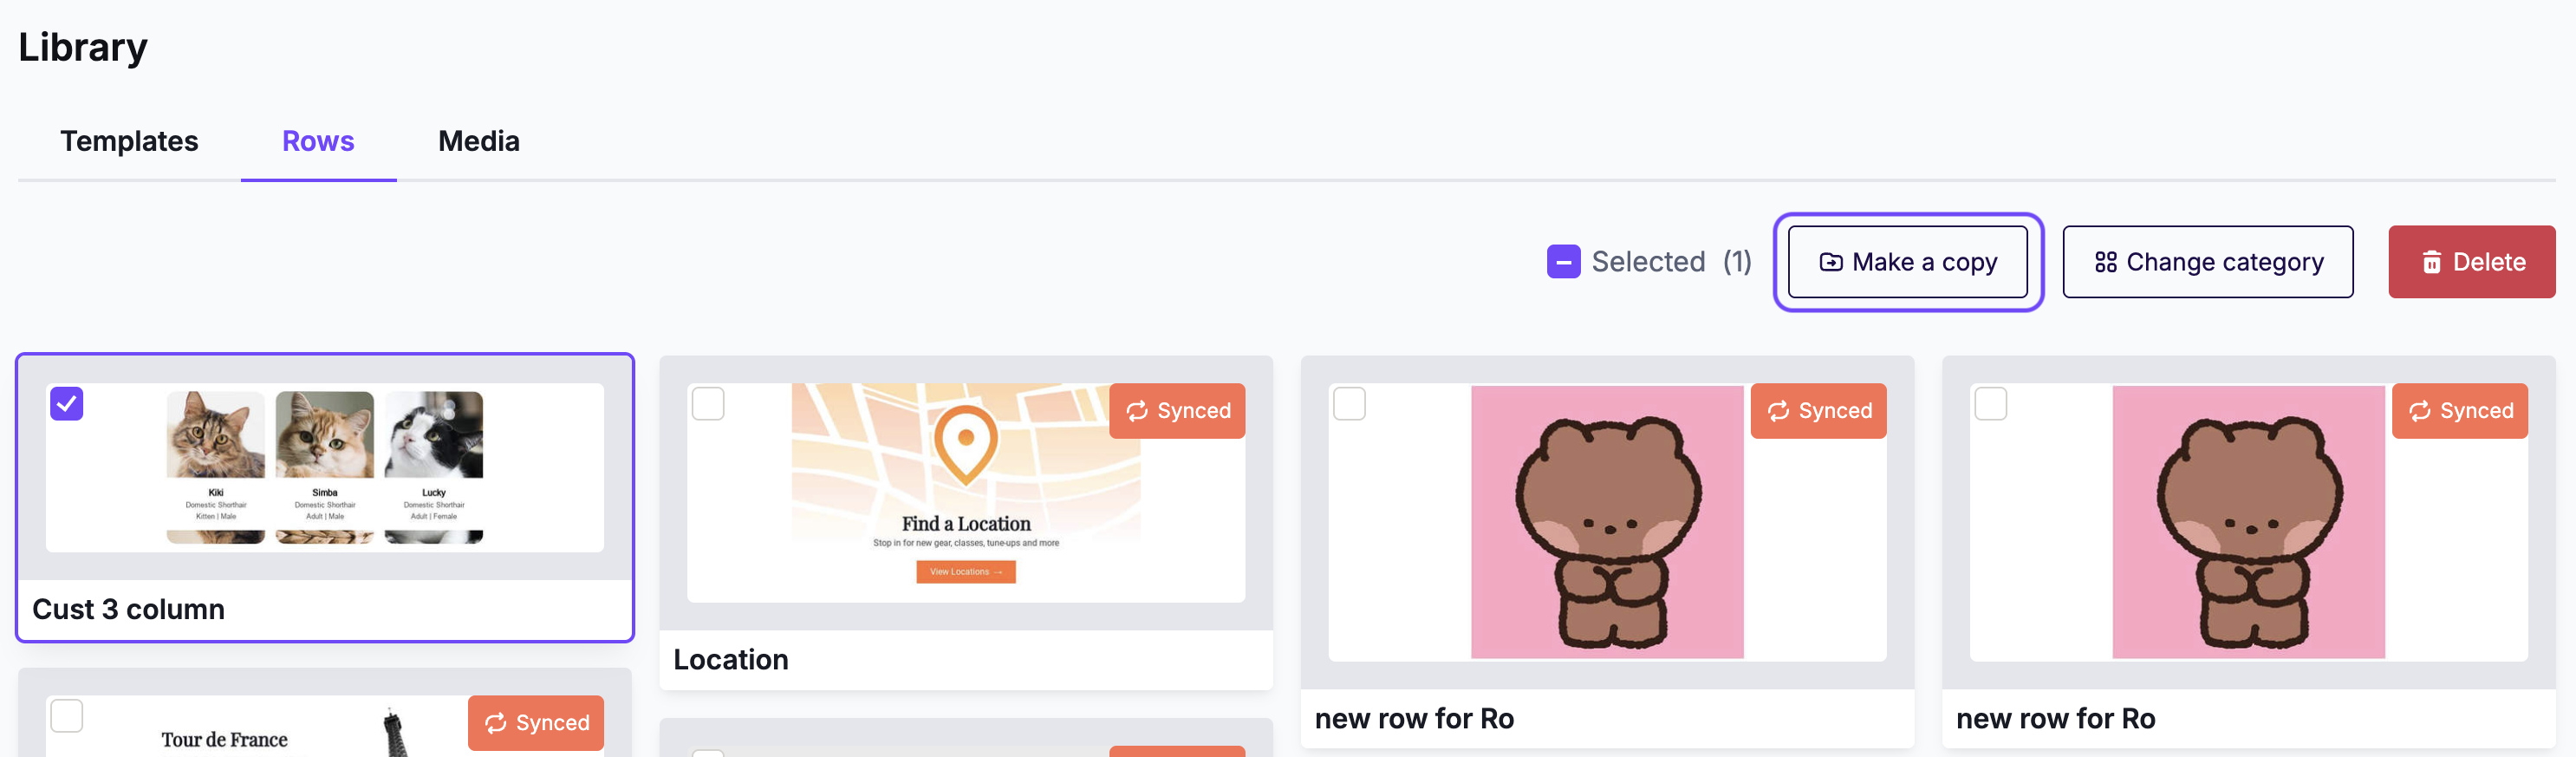
Click Make a copy to see a list of available workspaces. Search by workspace name if needed.
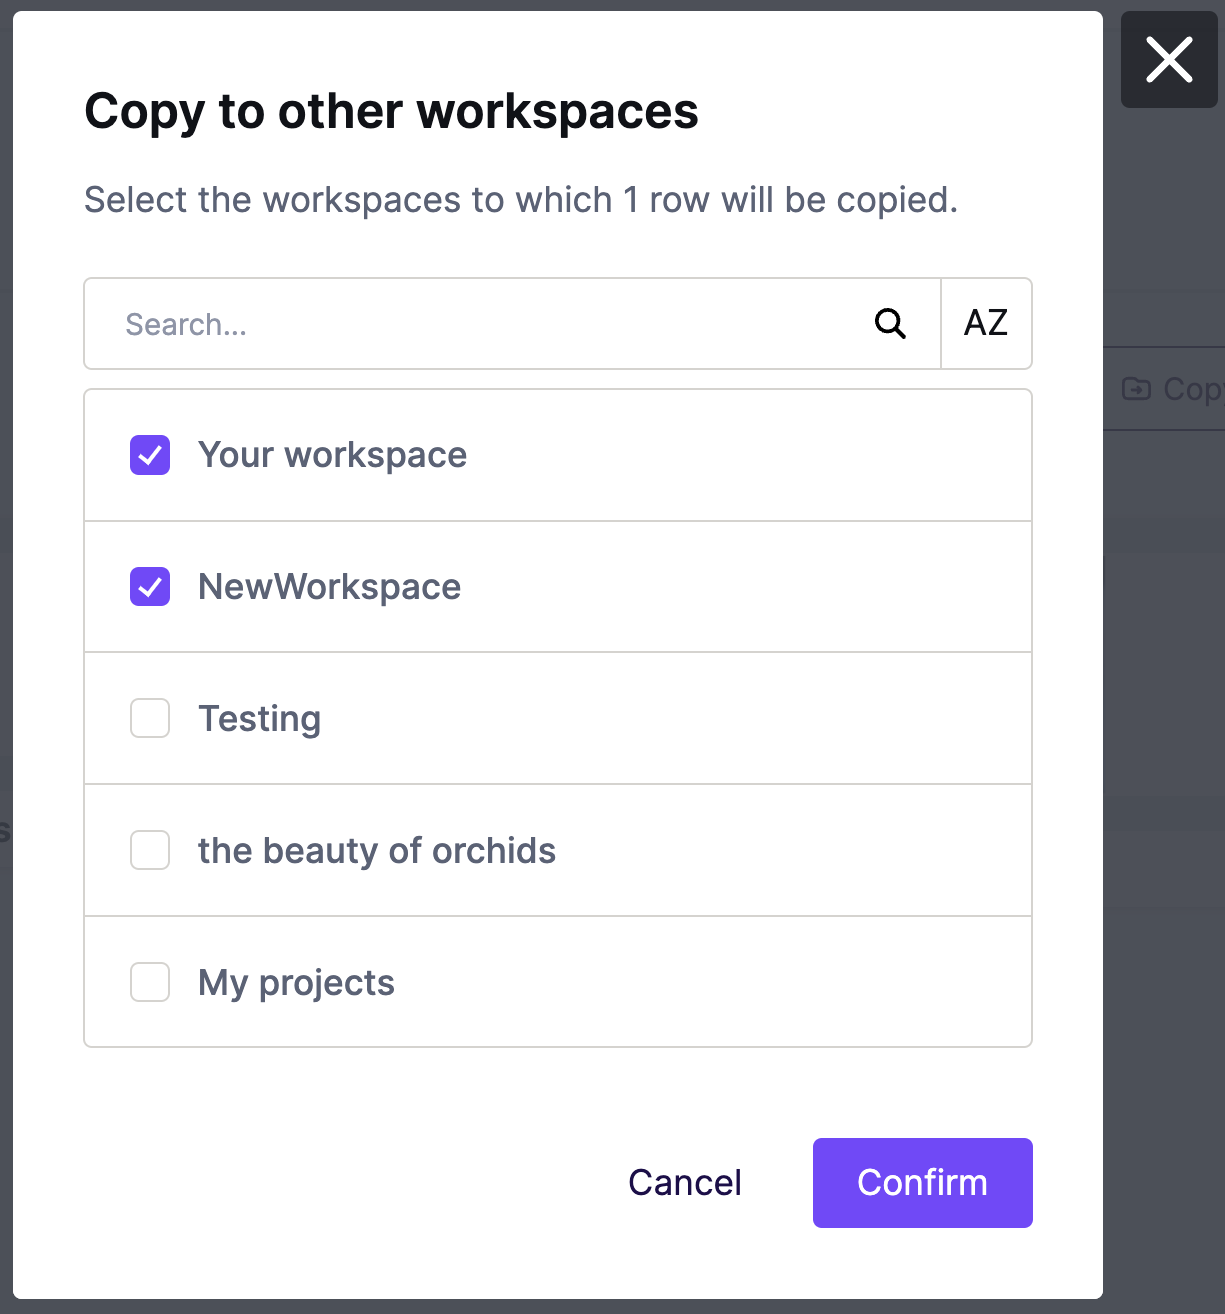
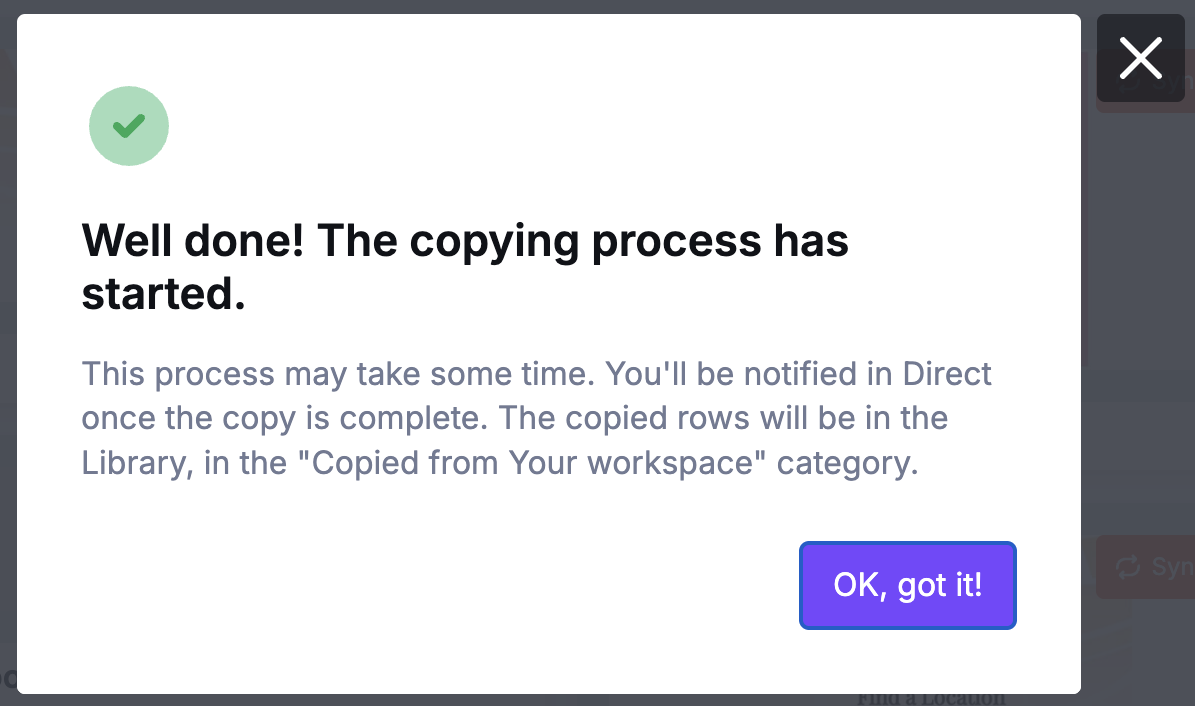
Select at least one workspace, then click Confirm. You'll receive an alert in the notification center when the copy is complete.
Enterprise customers can create Brand Kits to use saved rows across workspaces.
If you have any questions, feel free to contact us.
Comments
0 comments
Please sign in to leave a comment.