Workspace Settings

Beefree App is now RGE Studio!
The email design suite you already know and love just leveled up. We’re working hard to update our help center, but you still may see some references to the old product name.
Every RGE Studio account includes at least one workspace. The Starter plan includes one limited workspace. The Professional plan includes one full workspace. Business and Enterprise plans support multiple workspaces.
Each workspace has its own settings, styles, templates, and user permissions.
These guides cover related topics:
- Navigating RGE Studio
- Workspace settings (you're here!)
- Managing Designs
- Building Content in RGE Studio
- Professional, Business & Enterprise
- Glossary
This guide covers the settings available for all RGE Studio workspaces. Some settings vary by plan. Only account Owners, Admins, and Managers can access these settings. See user roles for more on permissions.
For a video walkthrough, watch the RGE Studio Academy video on using workspaces.
Settings
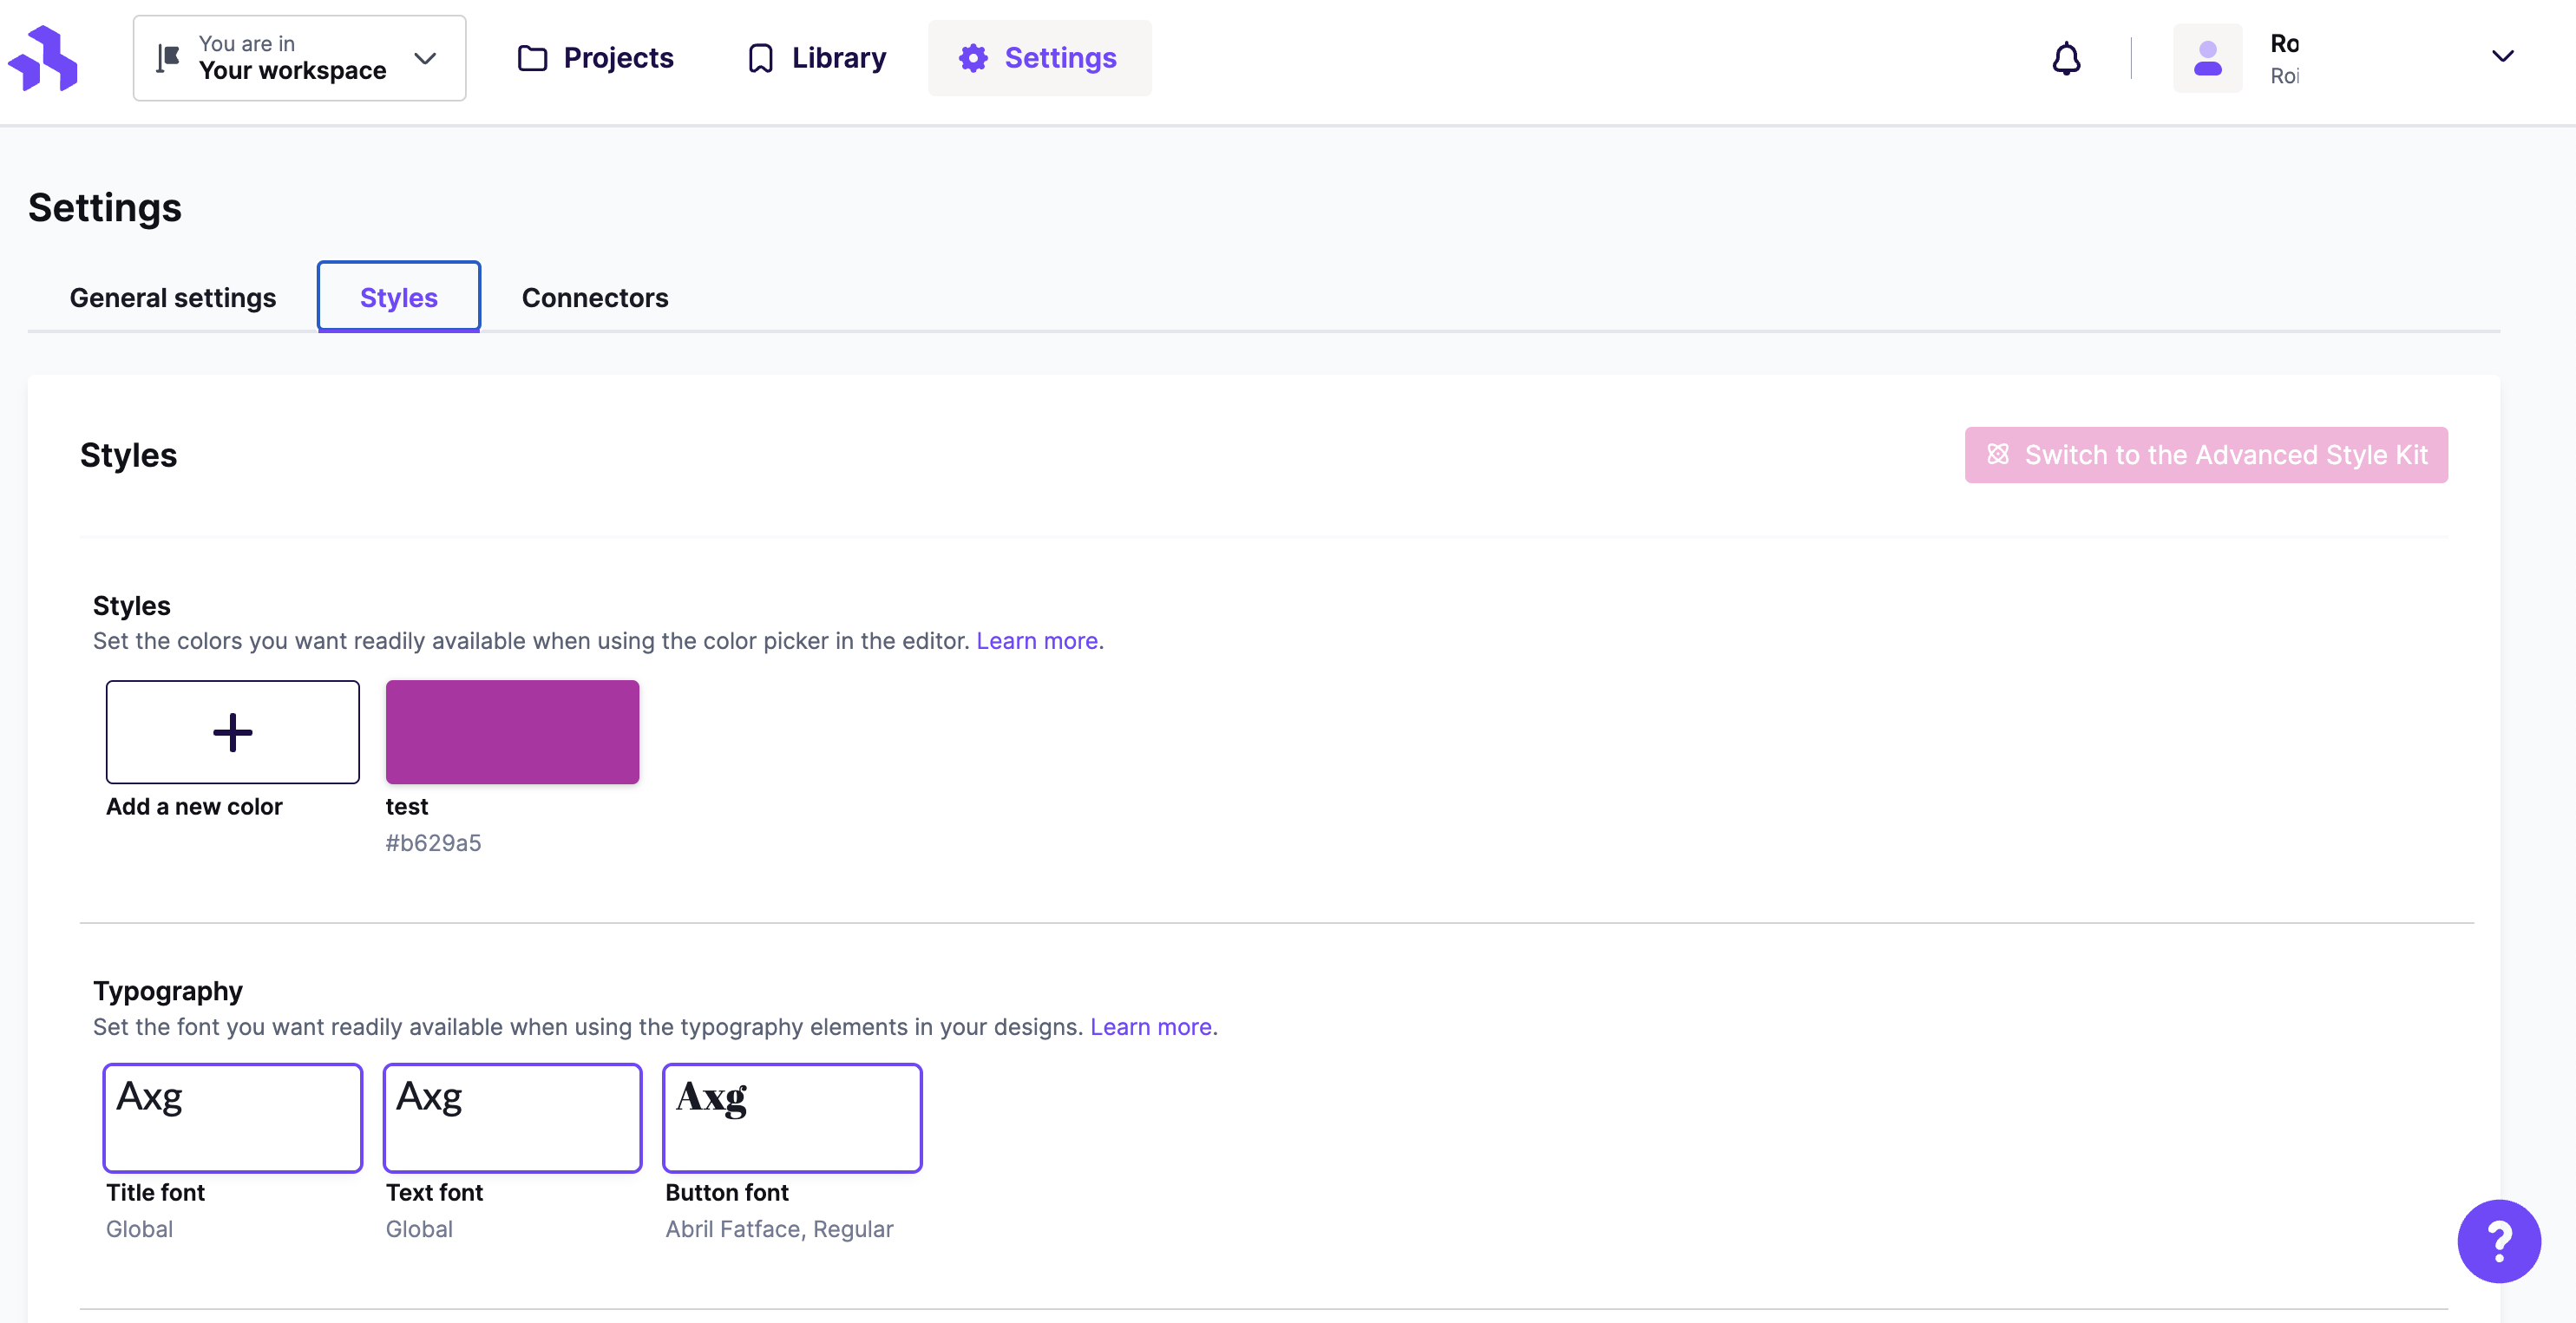
This is where you can find all your RGE Studio account settings. Similar to the Library tab, your Settings are specific to the workspace you select.
Most RGE Studio accounts have three tabs in the Settings area. Enterprise accounts also have a fourth tab, Webhooks. Each tab covers a different type of settings. Availability varies by plan. Look for this icon next to features included in higher-tier plans:

Some settings only appear once your plan includes them. See the Professional, Business & Enterprise Quick Start Guide for details on premium settings.
General Settings
Every RGE Studio plan includes a General Settings page. It shows the subdomain for your account or workspace. You can also view your full list of merge tags and special links here.
The General Settings area includes several options. On the Starter plan, some options are read-only and available for reference. The chart below shows which plans include each feature.
Starter |
Professional |
Business |
Enterprise |
|
| Workspace name |
|
|
|
|
| Custom Subdomain |
|
|
|
|
| Custom Domain |
|
|
|
|
| User permissions |
|
|
|
|
| Merge tags |
|
|
|
|
| Special links |
|
|
|
|
| Template catalog toggle |
|
|
|
|
| Display Conditions |
|
|
|
|
| Custom attributes |
|
|
|
|
| HTML Sanitizer |
|
|
|
|
| Row categories order |
|
|
|
|
| Approval management |
|
|
|
|
| Delete workspace |
|
|
|
|
Styles
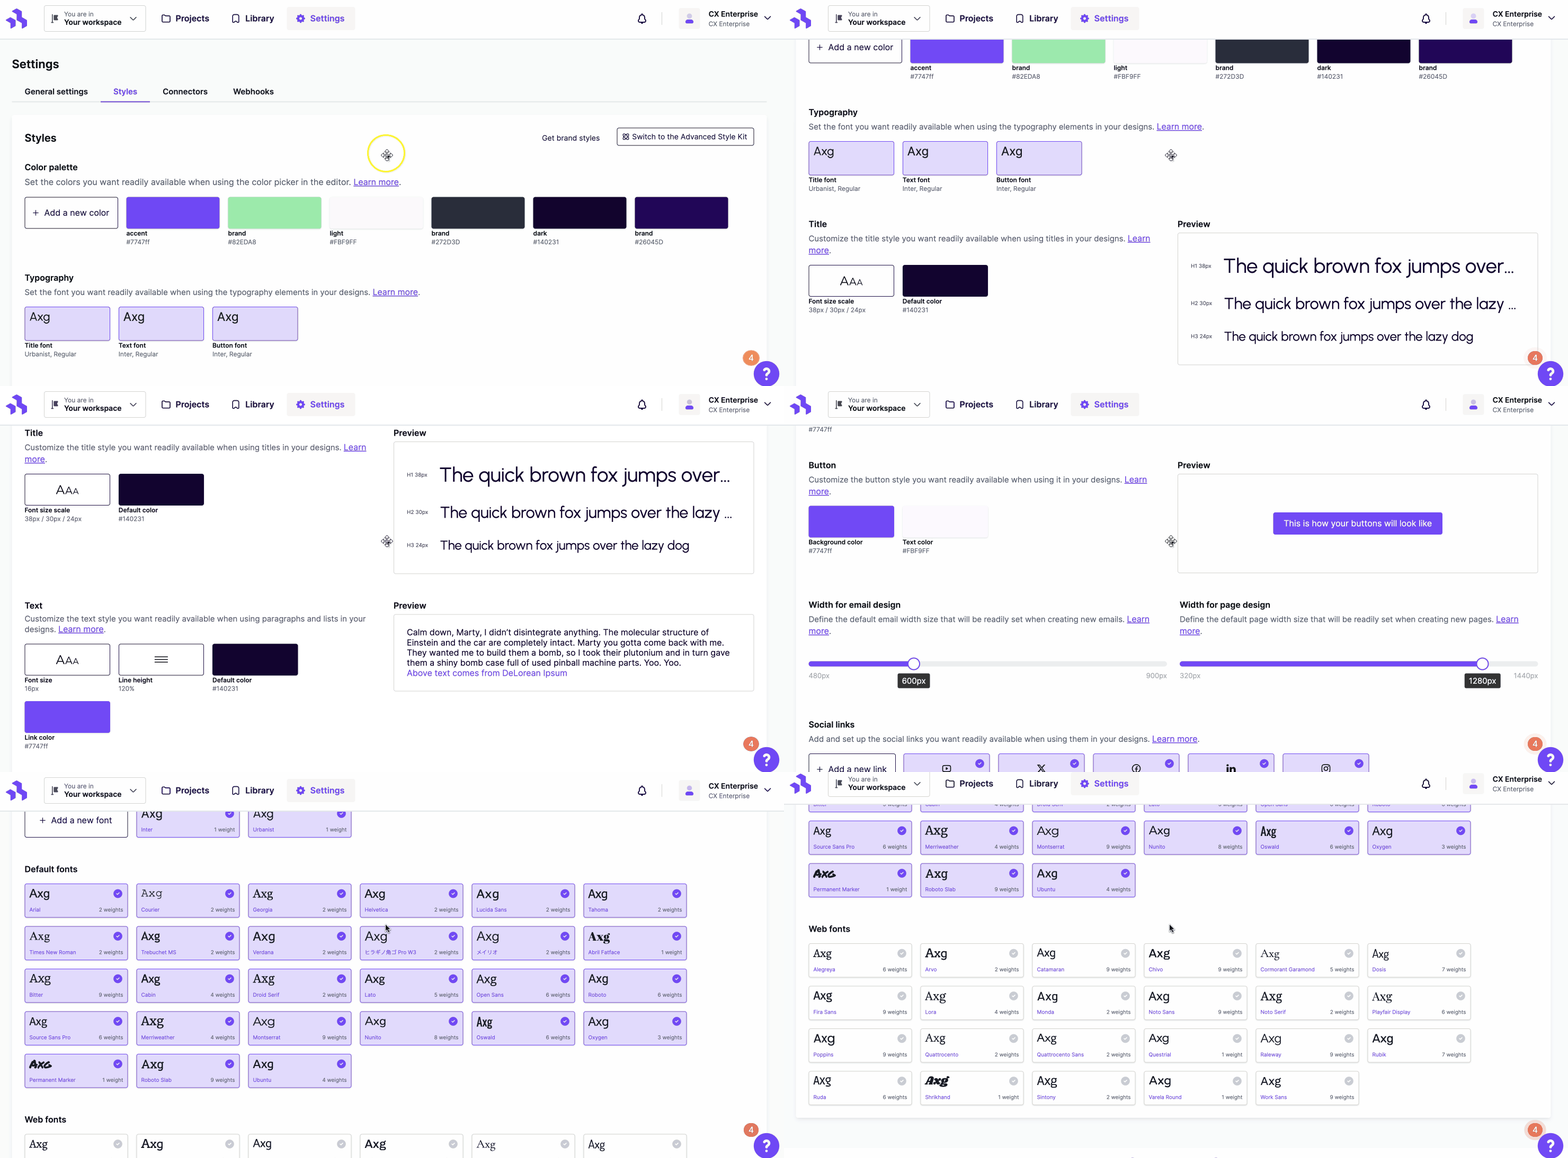
The Styles tab lets you set design standards for the builder.
Styles
This section is also called the workspace palette. Use it to set standard colors and content block styles. You can also import styles from a website with Get brand styles.
The chart below shows which style settings are available on each plan.
| Starter | Professional | Business | Enterprise | |
| Color palette |  |
|
|
|
| Typography | |
|
|
|
| Title | |
|
|
|
| Text | |
|
|
|
| Button | |
|
|
|
| Width for email/page design | |
|
|
|
| Social links | |
|
|
|
| Advanced Style Kit | |
|
|
|
Every plan includes a custom color palette for your workspace. Your palette appears in any color picker in the builder. See Custom Workspace Styles for more information.
Fonts
The Fonts area controls which fonts appear in the builder. There are three font types:
- Custom fonts — Import your own hosted web fonts. Available on paid plans only.
- Default fonts — RGE Studio's original font set, commonly used in templates. Available on all plans.
- Web fonts — A selection of web fonts pre-loaded into the builder. Available on all plans.
You can enable or disable default and web fonts here. This gives you more control over typography in your designs. Learn more in these articles:
Connectors
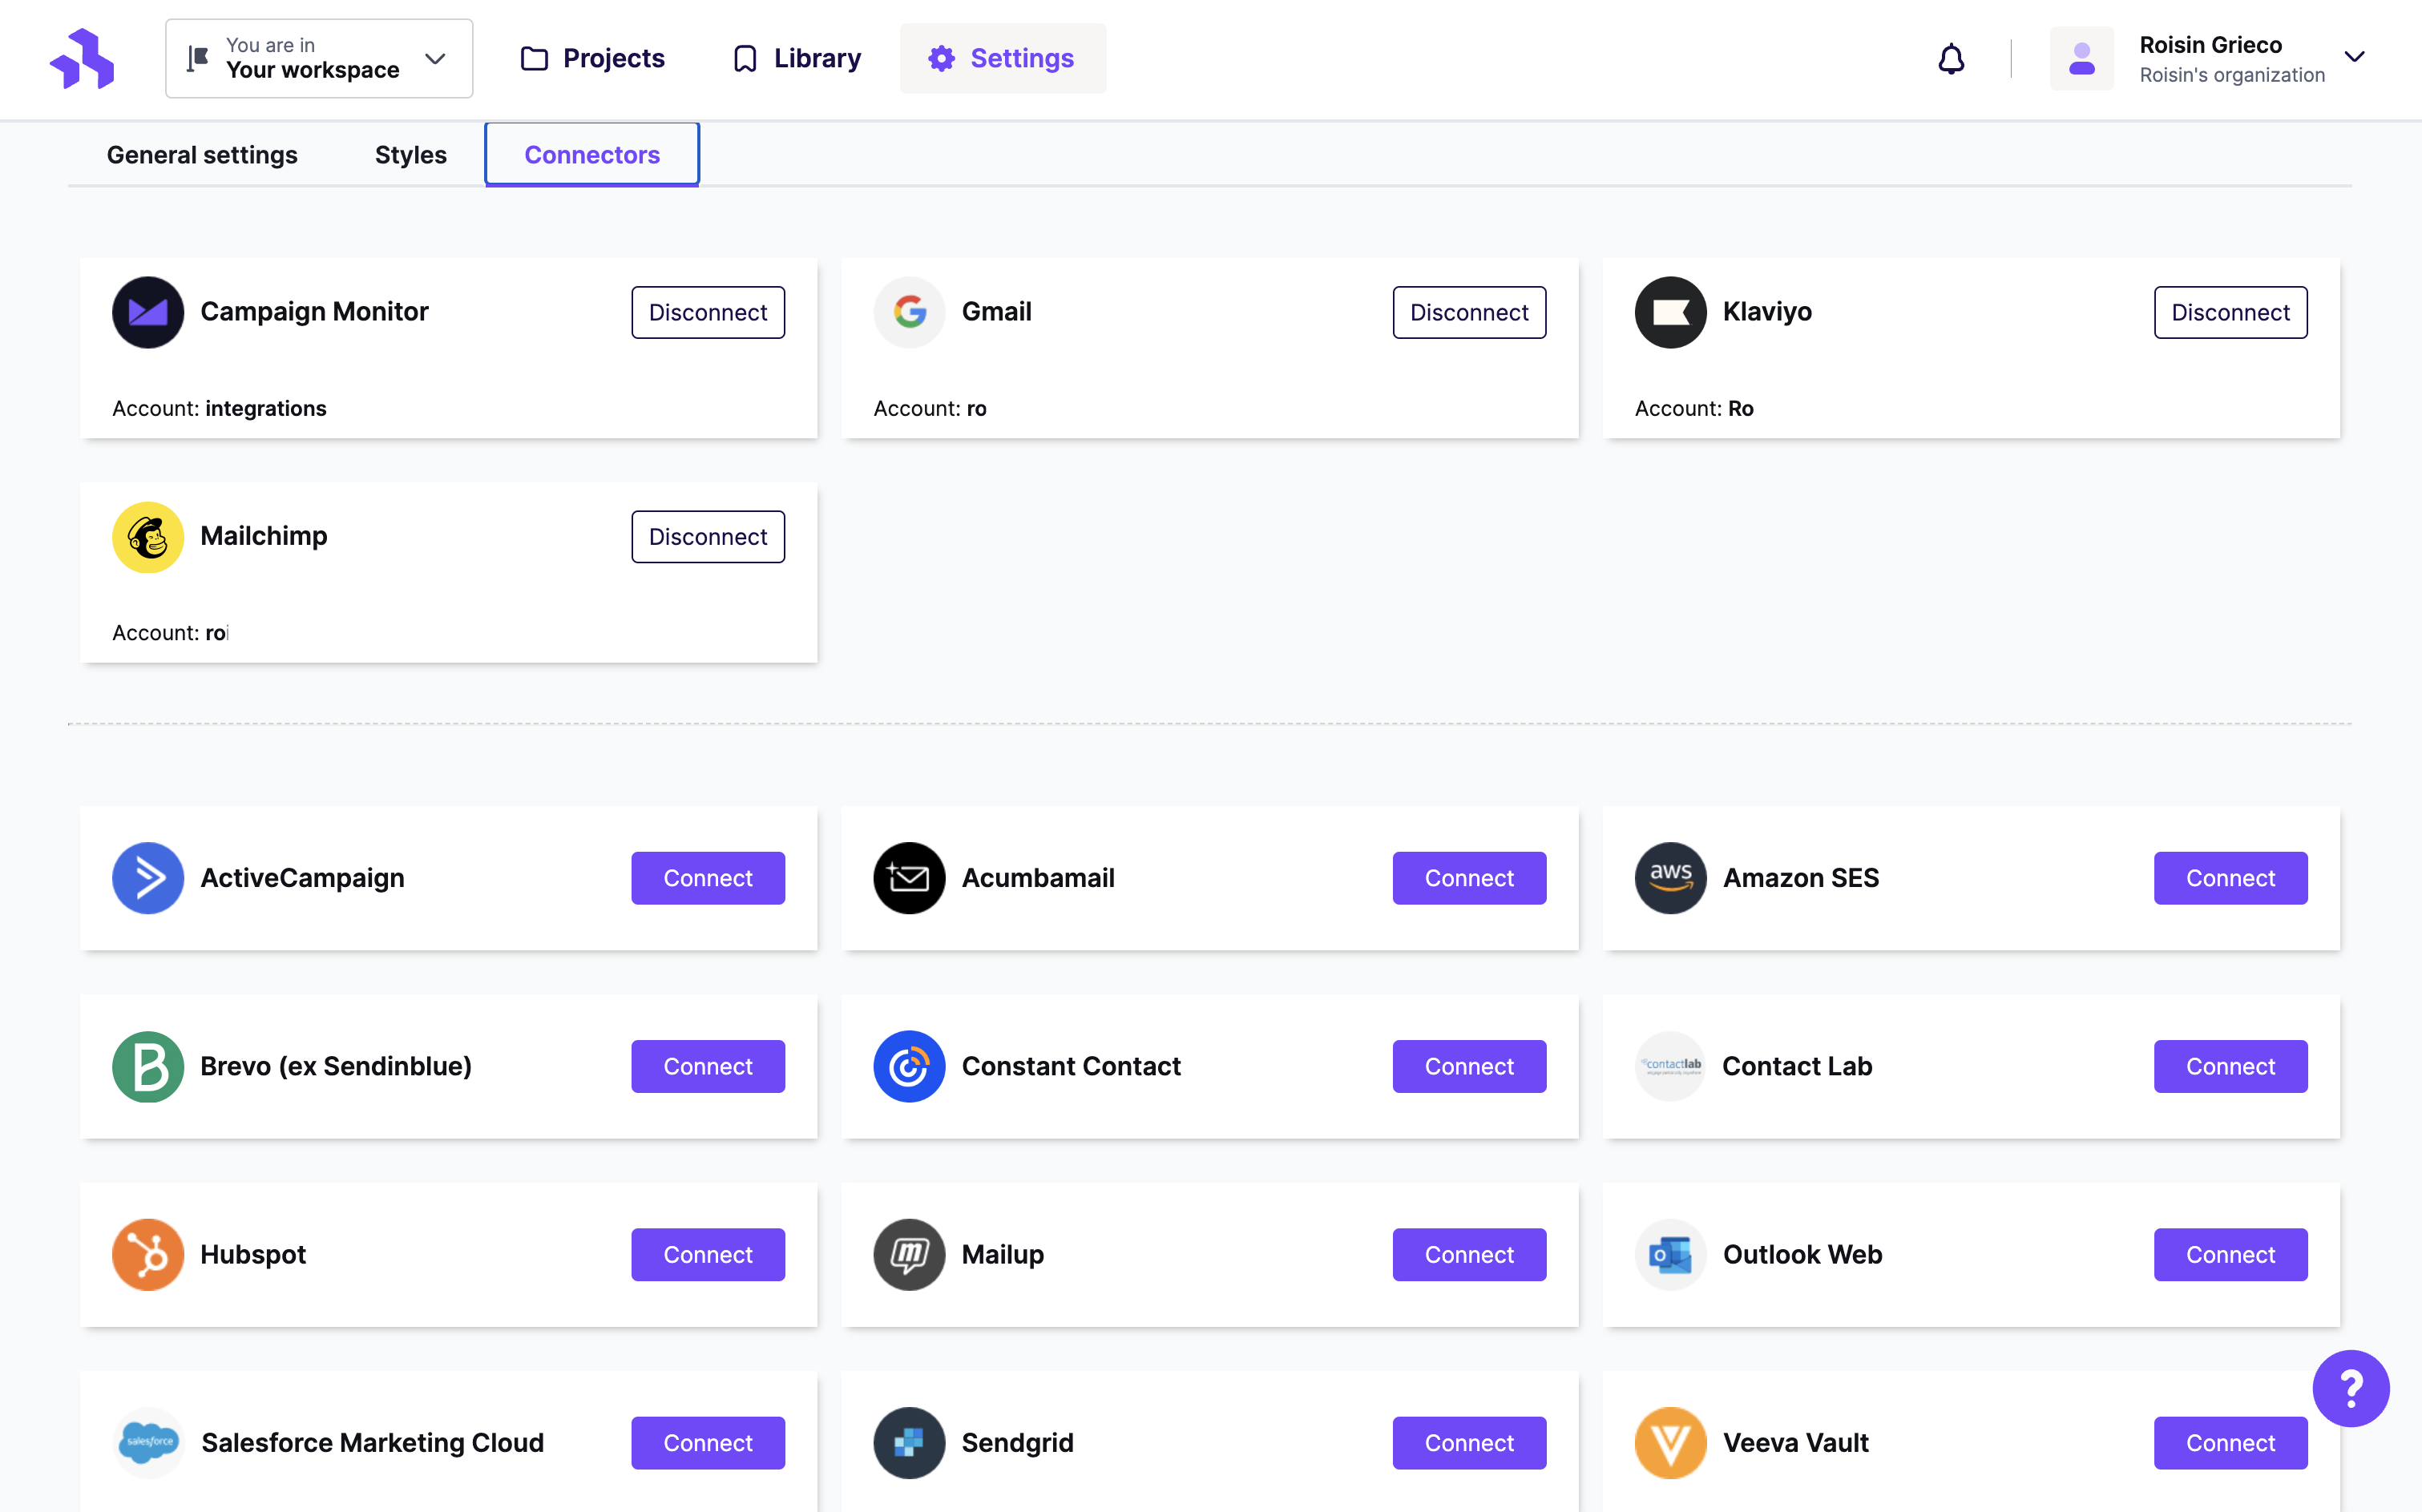
See the full list of connectors on the RGE Studio website. Use this settings section to connect your account to your preferred sending platform. For more, see Using connectors in RGE Studio. You can also set up a custom connector.
Next: Managing Designs
Comments
0 comments
Please sign in to leave a comment.